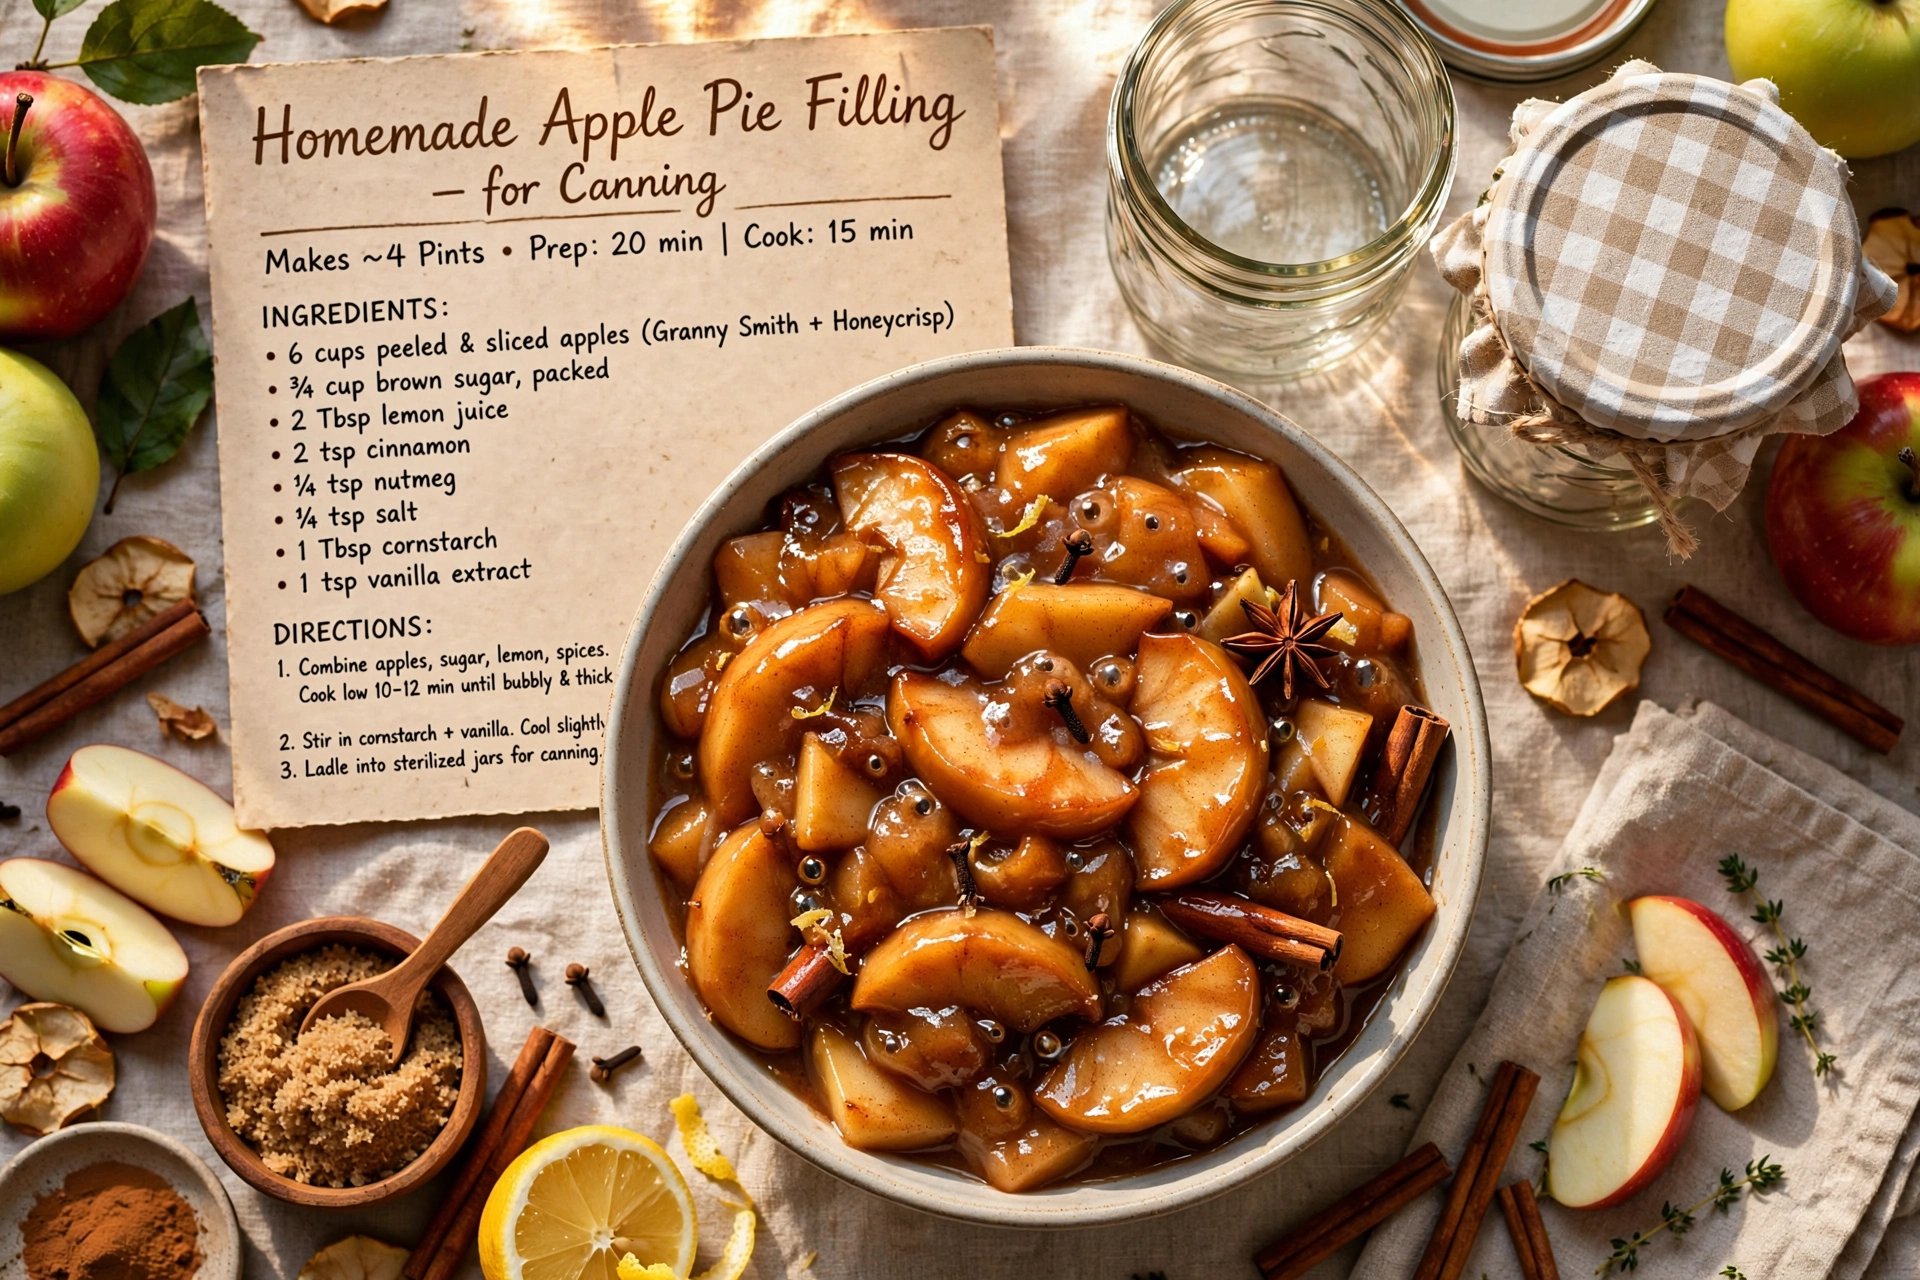
Homemade Apple Pie Filling for Canning
Learn how to make and can apple pie filling at home with this easy, small-batch safe canning recipe, perfect for stocking your pantry with ready-to-bake pies all year long.

Fill Your Pantry with Homemade Apple Pie Filling
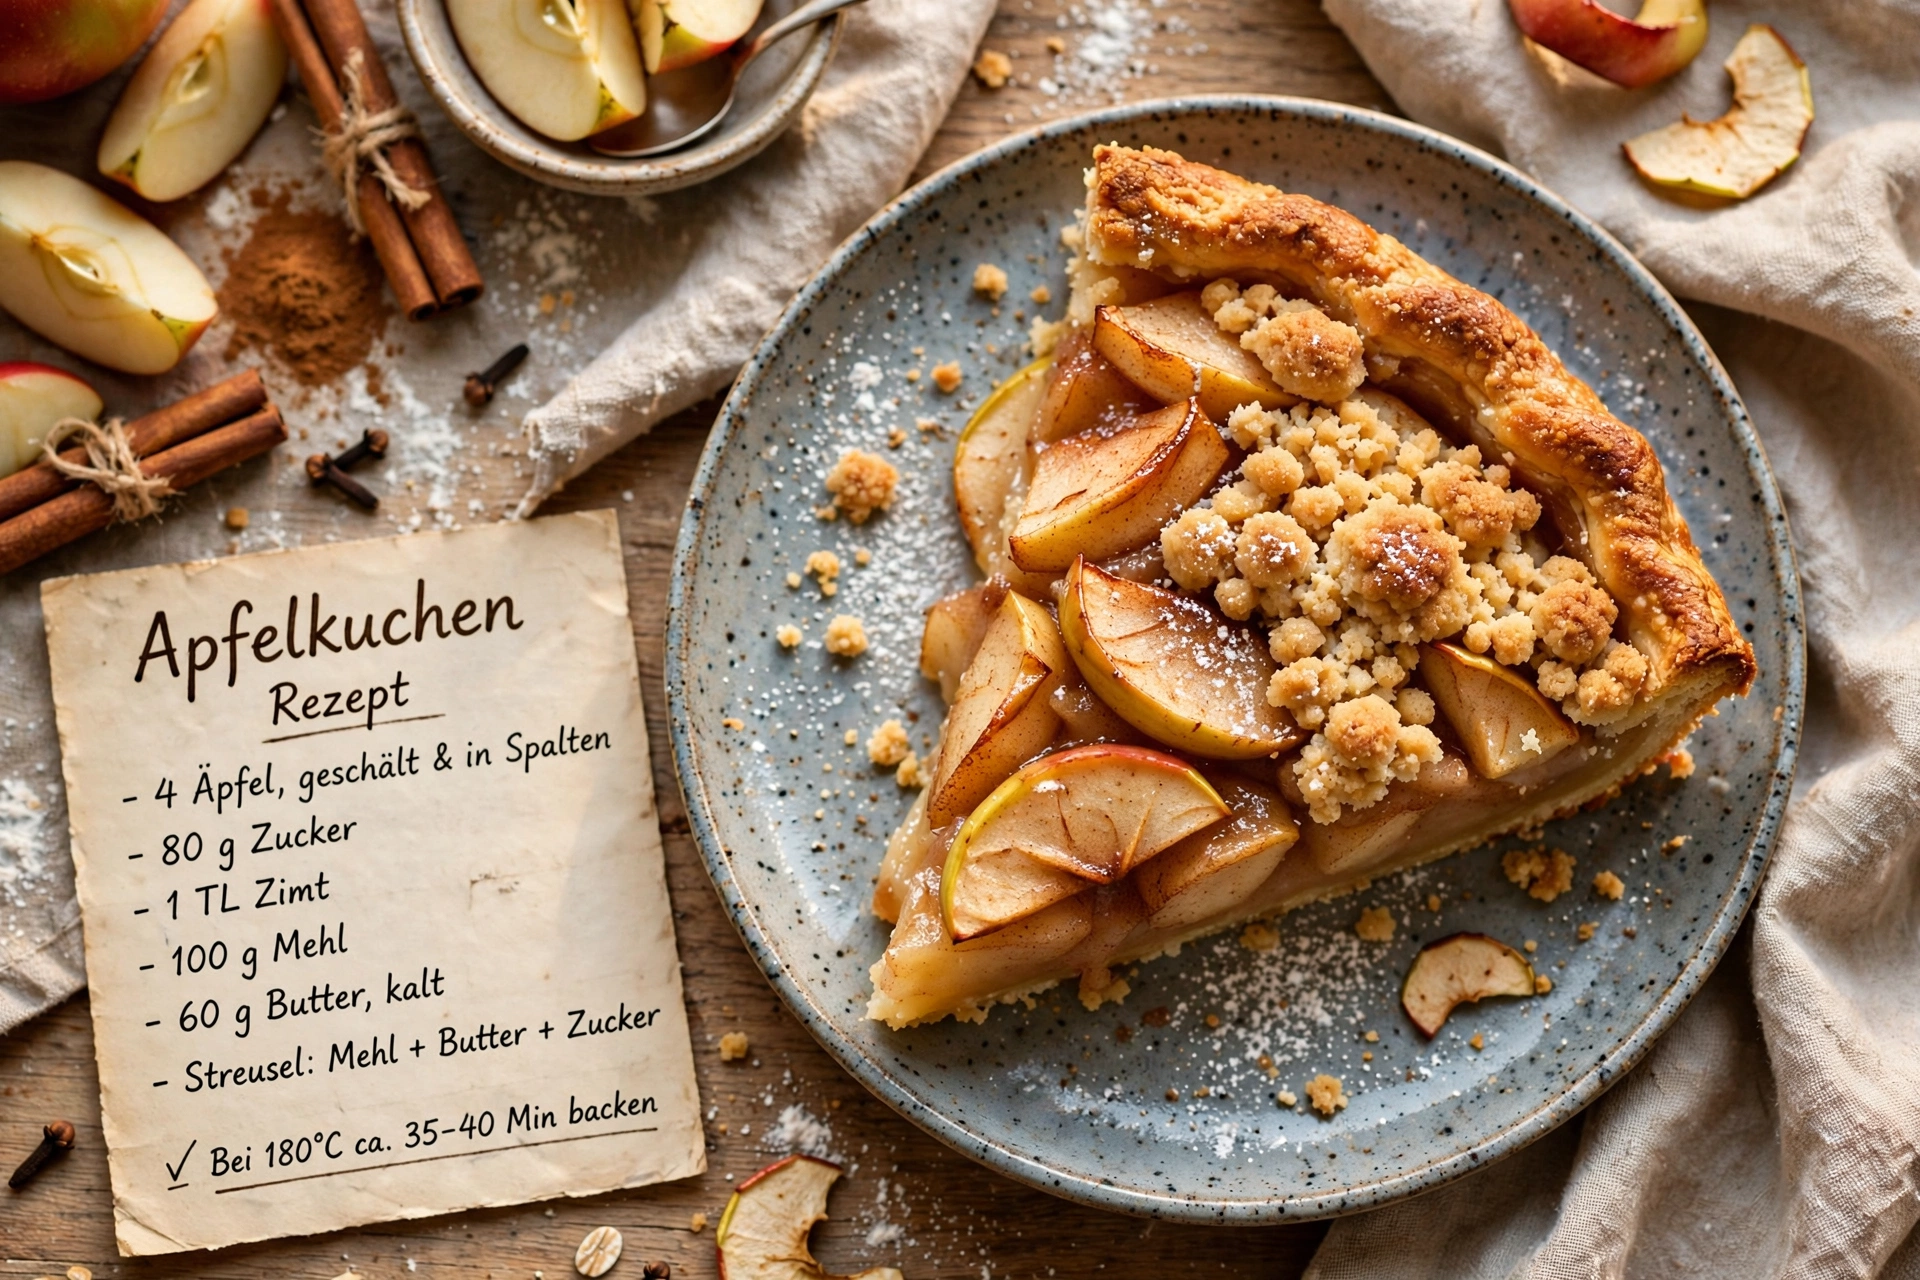
There's something deeply satisfying about opening your pantry in the dead of winter and finding a jar of golden, cinnamon spiced apples just waiting to become pie. This homemade apple pie filling for canning turns a big bag of fresh apples into months of effortless dessert. Once you learn how to make and can apple pie filling yourself, you'll wonder why you ever bought the canned stuff from the grocery store shelf.
This is a classic method for canning apples for pie filling using a simple sugar syrup thickened with cornstarch or ClearJel. It's beginner friendly, it doesn't require any fancy equipment beyond a basic water bath canner, and it makes enough to fill your shelves for the whole year.
Before we get cooking, the right tools and ingredients make a real difference here. A proper water bath canner, a jar lifter, and a wide mouth funnel will save you a lot of mess and frustration, and using ClearJel instead of regular cornstarch gives you a filling that holds its texture beautifully through processing and long term storage. These are the products that genuinely help this recipe shine:
Choosing and Prepping Your Apples
Not all apples are created equal when it comes to pie filling. You want a firm, tart baking apple that will hold its shape through blanching, simmering, and a full water bath processing cycle. Some great options include:
- Granny Smith for a tart, firm classic
- Honeycrisp for a nice balance of sweet and firm
- Braeburn or Jonagold for good structure and flavor
Avoid soft, mealy varieties like Red Delicious, as they tend to break down into mush during processing.
Chef's Tip: Slice your apples to a consistent 1/2 inch thickness. Uneven slices mean uneven cooking, and you'll end up with some pieces mushy and others still crunchy.
Why Blanching Matters
A quick blanch in boiling water followed by an ice bath is a small step that makes a big difference. It helps the apples hold their color and texture, prevents excessive shrinkage in the jar, and ensures a more even final product. Don't skip this step even though it feels like extra work. It's one of the little details that separates homemade canned apple pie filling recipes from store bought versions that taste flat and overly processed.
The Syrup Is Where the Magic Happens
The syrup base of sugar, thickener, cinnamon, and lemon juice is what turns plain cooked apples into something that tastes unmistakably like pie. Cornstarch works fine, but if you're planning on canning apple pie filling for longer term storage, ClearJel is worth seeking out. It's specifically formulated to hold up through the heat of processing without breaking down or turning gummy, which is a common issue with canning apple pie filling no clear jel recipes that lean too heavily on cornstarch alone.
Chef's Tip: Always use bottled lemon juice rather than fresh squeezed for canning recipes. Bottled lemon juice has a standardized acidity level that's important for food safety, while fresh lemons can vary from fruit to fruit.
Ready to make it? Here is the full step by step recipe:
Homemade Apple Pie Filling for Canning
Learn how to make and can apple pie filling at home with this easy, small-batch safe canning recipe, perfect for stocking your pantry with ready-to-bake pies all year long.
Ingredients
- 7 1/2 lb apples, peeled, cored, and sliced 1/2 inch thick, Granny Smith or other firm baking variety
- 4 1/2 cups granulated sugar
- 1 cup cornstarch, or ClearJel if canning for long term shelf storage
- 2 tsp ground cinnamon
- 1/2 tsp ground nutmeg, optional, freshly grated
- 3/4 cup lemon juice, bottled, not fresh squeezed, for consistent acidity
- 5 cups water, divided
- 1/2 tsp fine sea salt
Instruction
Wash 7 quart-sized mason jars (or a mix of quarts and pints) in hot soapy water, then keep them warm in a low oven or simmering water bath until ready to fill.
Peel, core, and slice the apples into 1/2 inch thick pieces. You should have about 7.5 pounds, roughly 6 quarts, of sliced apples.
Blanch the apple slices in batches in boiling water for 1 minute, then transfer to a bowl of ice water to stop the cooking. Drain well and set aside.
In a large stockpot, whisk together the sugar, cornstarch, cinnamon, nutmeg, and salt until no lumps remain.
Gradually whisk in 5 cups of water until smooth, then stir in the lemon juice.
Bring the mixture to a boil over medium high heat, stirring constantly, until it thickens into a glossy syrup, about 3 to 5 minutes.
Fold the drained apple slices into the hot syrup and gently simmer for 5 minutes, stirring to coat every slice.
Ladle the hot filling into the warm, sterilized jars, leaving 1 inch of headspace.
Run a bubble remover or thin spatula around the inside of each jar to release trapped air, then wipe the rims clean with a damp cloth.
Center a lid on each jar and screw on the band until fingertip tight.
Process the jars in a boiling water bath canner for 25 minutes for quarts (20 minutes for pints), adjusting for altitude if needed.
Turn off the heat, remove the lid, and let the jars rest in the canner for 5 minutes before transferring them to a towel-lined counter.
Let the jars cool undisturbed for 12 to 24 hours, then check that all lids have sealed before labeling and storing.
Equipment
- Water bath canner
- 7 quart-sized mason jars with lids and bands
- Large stockpot
- Jar lifter
- Canning funnel
- Bubble remover or spatula
- Ladle
Notes
Processing and Storage Tips
Once your jars are filled and sealed, proper water bath processing is what makes this filling shelf stable. Process quart jars for 25 minutes and pint jars for 20 minutes, and remember to add extra time if you're canning at a higher altitude. After processing, resist the urge to touch or move the lids until the jars have cooled completely, as this can interfere with a proper seal.
A few more tips for success:
- Always let jars cool undisturbed for a full 12 to 24 hours before checking seals
- Store sealed jars in a cool, dark pantry for up to 12 months
- Once a jar is opened, refrigerate and use the filling within a week
How to Use Your Canned Filling
One of the best things about having jars of apple pie filling to can ready in your pantry is how versatile they are. Beyond the obvious pie, try spooning the filling over pancakes, swirling it into oatmeal, layering it into a quick crumble, or using it as a topping for vanilla ice cream. When you're ready to bake a pie, simply pour two jars into an unbaked crust, top with a lattice or full crust, and bake as you normally would.
Once you've made this recipe a time or two, you'll find that canning apple pie filling becomes one of those satisfying fall traditions you look forward to every year, right alongside apple picking itself.