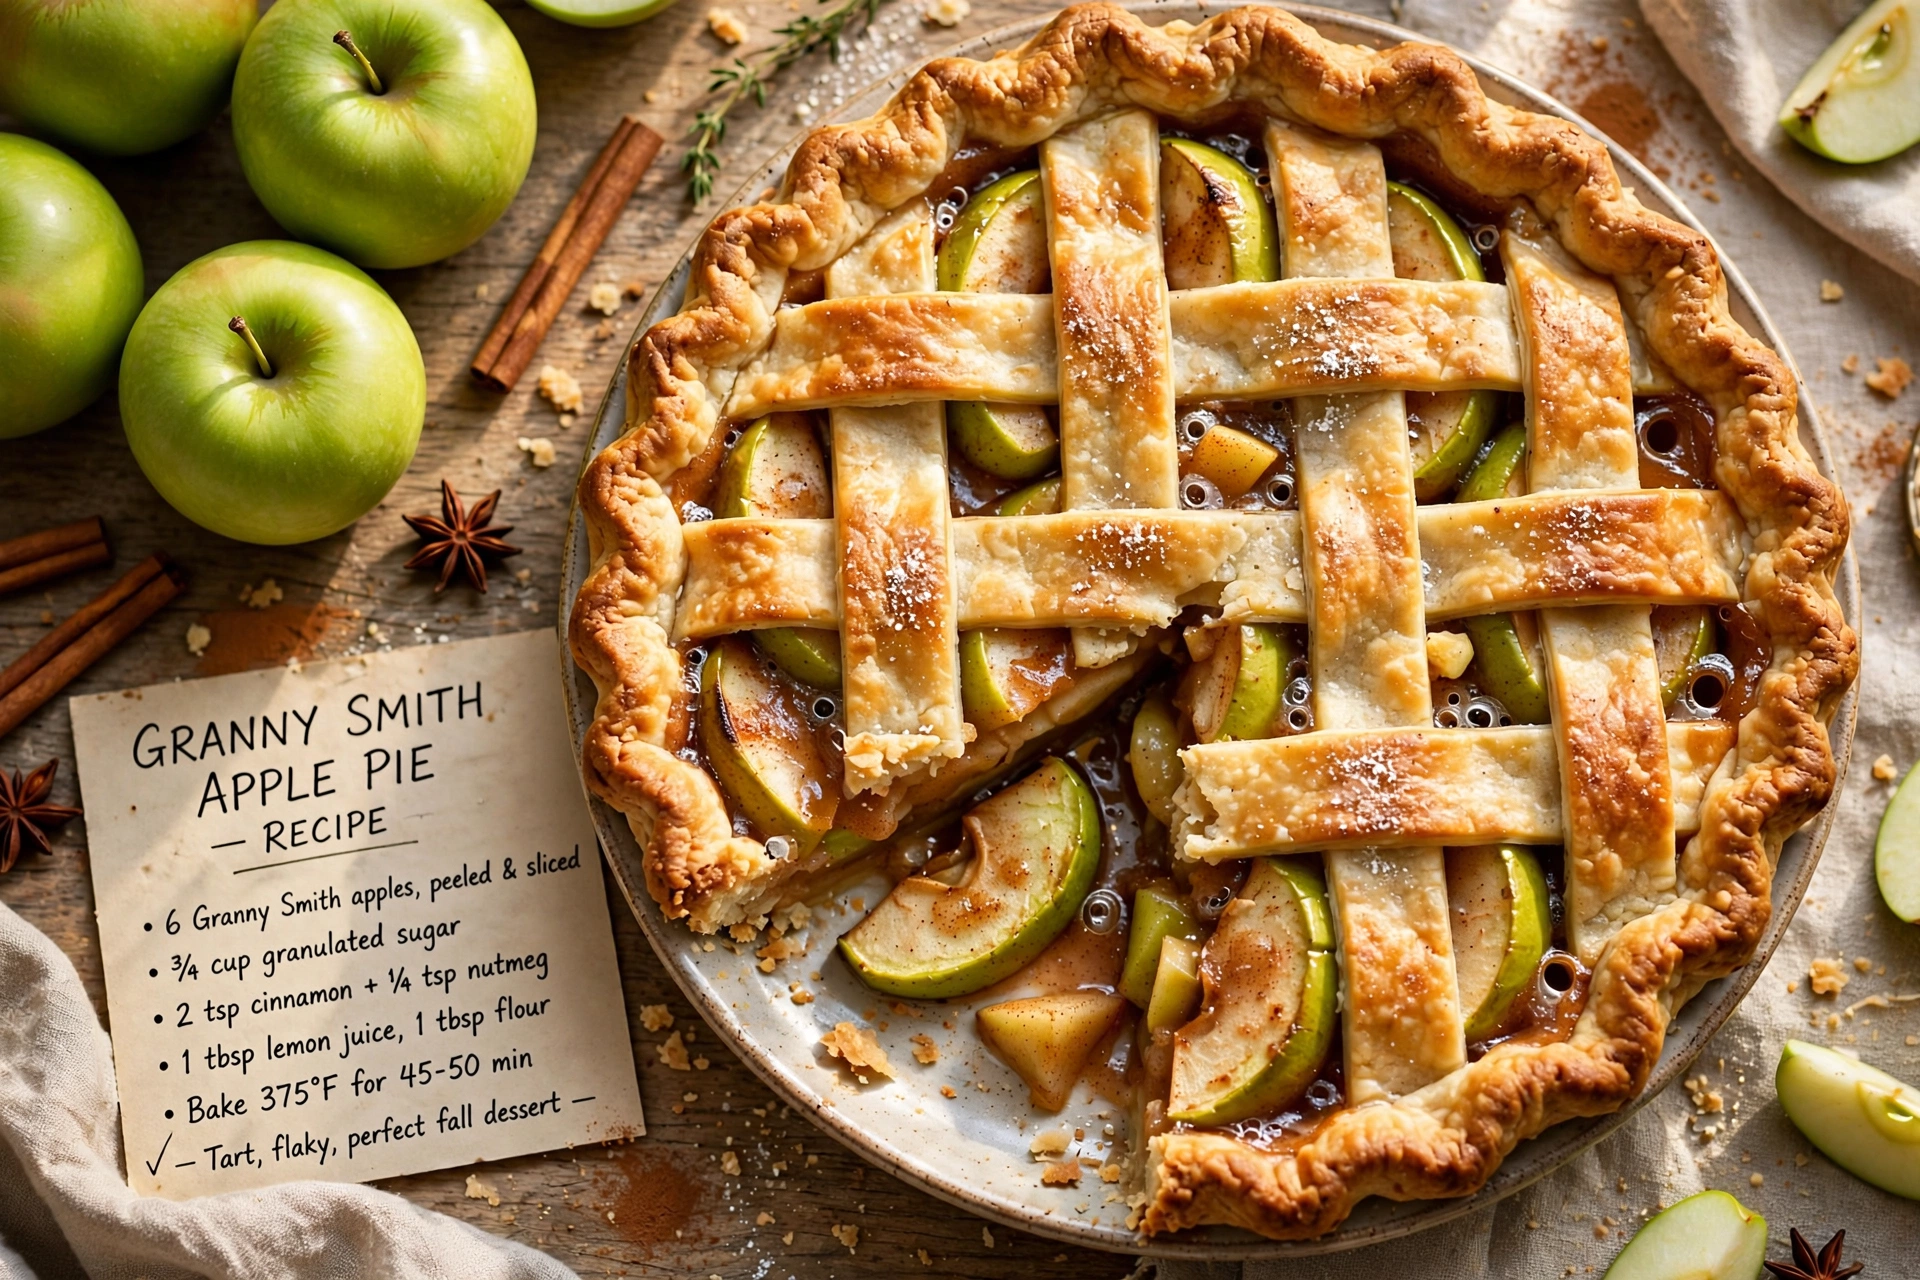
Granny Smith Apple Pie
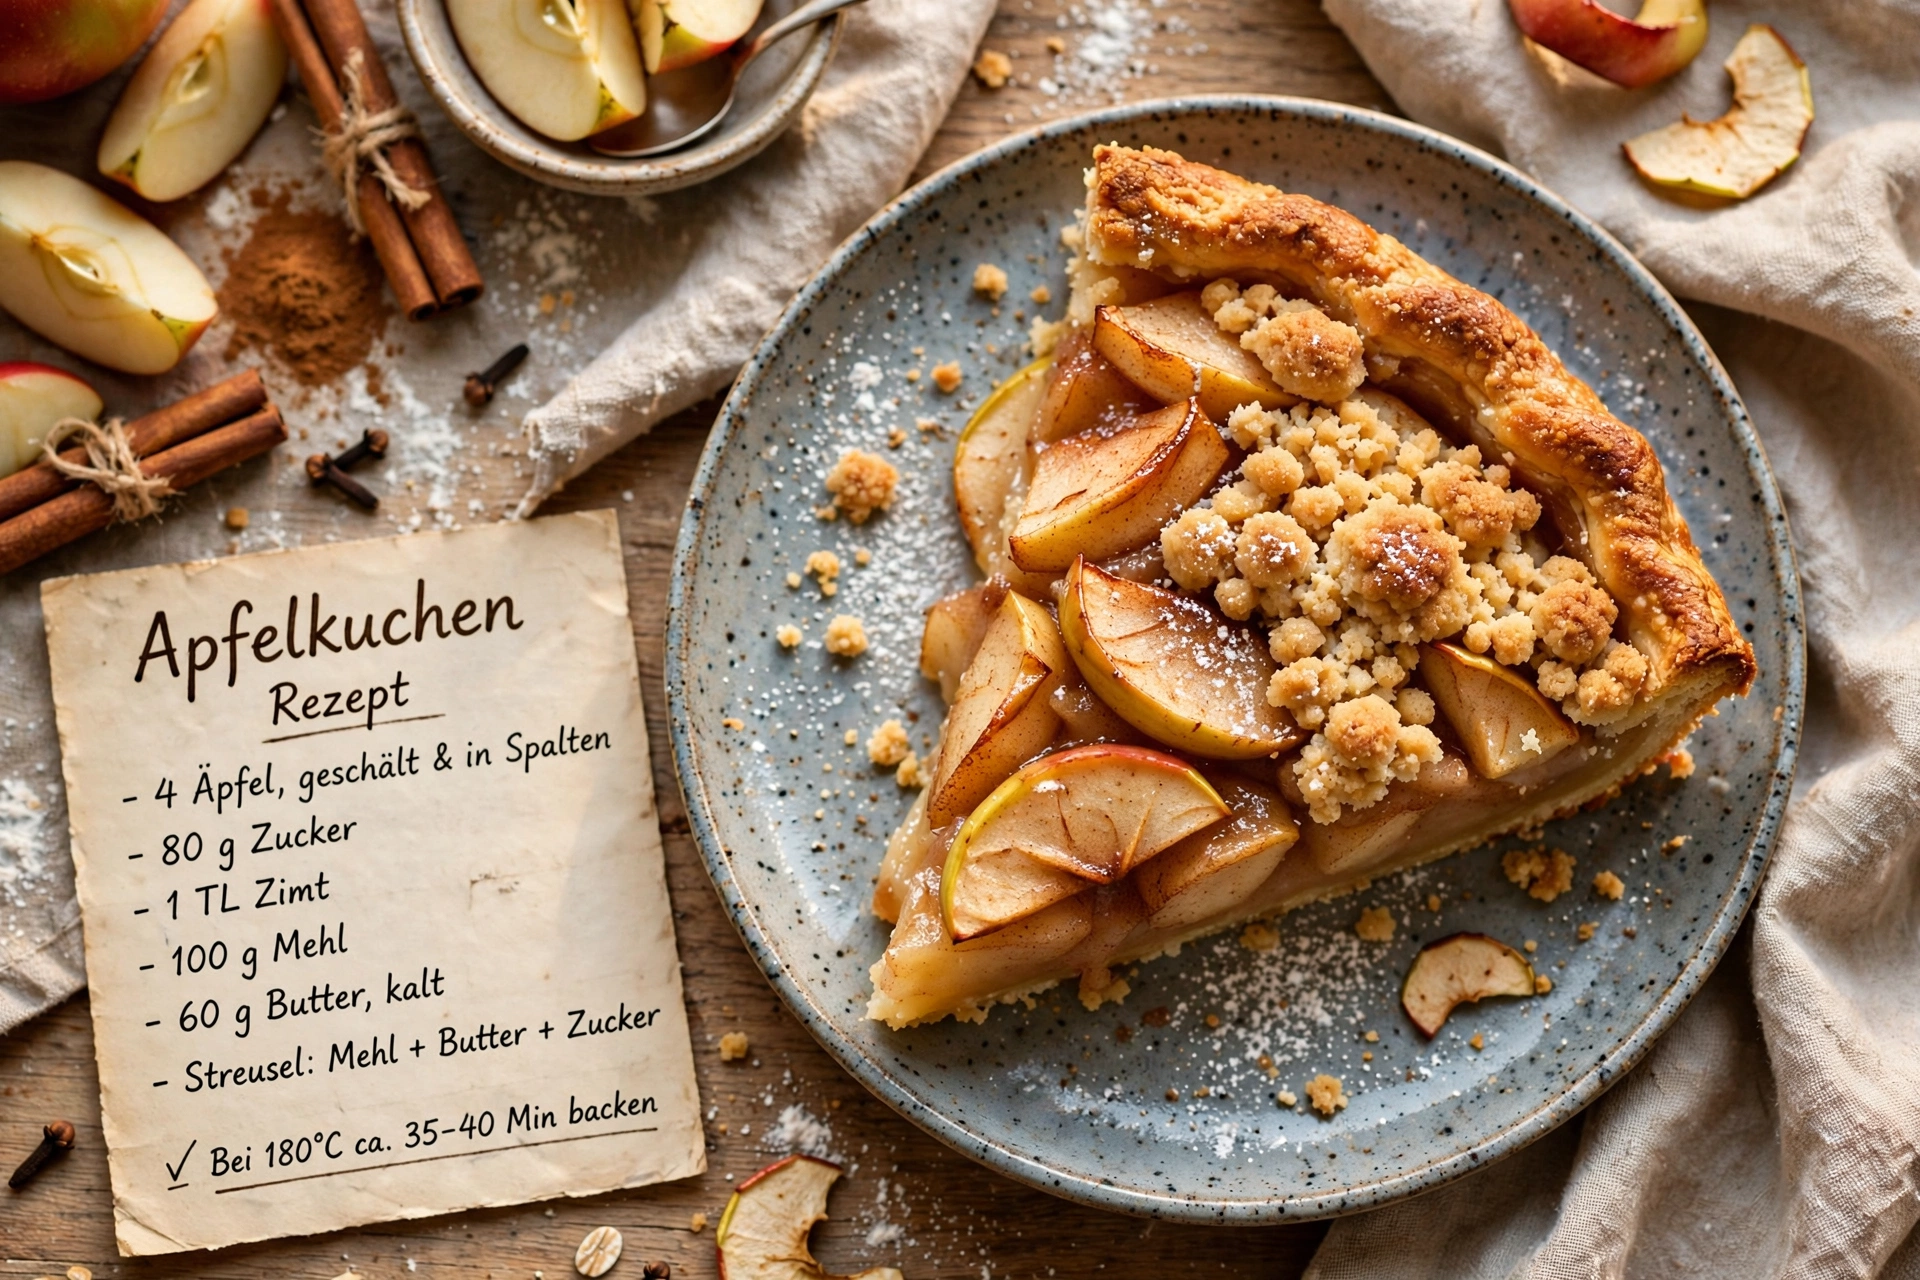
This classic Granny Smith apple pie recipe features a flaky homemade crust and a tangy sweet filling made with crisp green apples. It's the ultimate old fashioned apple pie for any occasion.
The Classic Green Apple Pie Recipe You'll Make Forever
There is something deeply comforting about a warm slice of homemade apple pie, and this Granny Smith apple pie recipe is the gold standard. The tart, crisp bite of green apples balanced against a buttery, flaky crust is what old fashioned apple pie is all about. If you have been searching for a classic apple pie recipe that actually tastes like the one your grandmother used to make, this is it.
Granny Smith apples are the secret weapon here. Their firm texture holds its shape during baking, and their natural tartness keeps the filling from tasting like straight sugar syrup. Paired with warm cinnamon and a touch of nutmeg, this green apple pie strikes the perfect balance of sweet, tangy, and spiced.
Before we get cooking, the right tools and ingredients make a real difference here. A good pastry cutter or food processor keeps your butter cold and your crust flaky, and a sturdy ceramic pie dish helps the crust bake evenly without burning on the bottom. These are the products that genuinely help this recipe shine:
Why Granny Smith Apples Are Non-Negotiable
When it comes to Granny Smith apples recipes, pie is where they truly earn their reputation. Their tartness and firm flesh mean they will not turn to mush after almost an hour in the oven, which is a common problem with softer apple varieties.
- They hold their shape beautifully, giving you distinct, tender apple slices instead of applesauce.
- Their tart flavor balances the sugar in the filling instead of letting the pie taste one-note sweet.
- They release less liquid than softer apples, so your filling stays thick instead of watery.
Chef's Tip: Slice your apples to a consistent thickness, about a quarter inch, so they cook evenly. Uneven slices mean some pieces turn mushy while others stay hard.
Getting That Flaky, Golden Crust
The crust is just as important as the filling in any classic apple pie recipe. The key is keeping everything cold. Cold butter, cold water, and even a chilled bowl if your kitchen runs warm will help you achieve those beautiful flaky layers.
Work the butter into the flour only until you see pea sized pieces remaining. Those little pockets of butter are what create steam pockets in the oven, resulting in a crust that shatters delicately with each bite rather than baking up dense or tough.
Chef's Tip: If your dough feels sticky or the butter starts to soften while rolling it out, pop it back in the fridge for 10 minutes. Patience here pays off in texture.
Building the Perfect Filling
The filling for this green apple pie relies on a simple trio of sugars, warm spices, and a touch of cornstarch to thicken the juices as they bubble in the oven. Tossing the apples with lemon juice not only brightens the flavor but also helps prevent browning while you finish prepping your crust.
A lattice top is a lovely way to show off the golden fruit peeking through, but a classic double crust with a few vent slits works beautifully too. Either way, brushing the top with egg wash and a sprinkle of turbinado sugar gives you that irresistible glossy, crackly finish.
Ready to make it? Here is the full step-by-step recipe for this apple pie recipe homemade from scratch:
Granny Smith Apple Pie
This classic Granny Smith apple pie recipe features a flaky homemade crust and a tangy sweet filling made with crisp green apples. It's the ultimate old fashioned apple pie for any occasion.
Ingredients
- 2 1/2 cups all-purpose flour, for the double pie crust
- 1 cup unsalted butter, cold, cubed
- 1 tbsp granulated sugar, for the crust
- 1 tsp salt, divided between crust and filling
- 1/2 cup ice water, plus more as needed
- 6 Granny Smith apples, peeled, cored, and thinly sliced
- 3/4 cup granulated sugar, for the filling
- 1/4 cup light brown sugar, packed
- 1 tsp ground cinnamon
- 1/4 tsp ground nutmeg, freshly grated if possible
- 1 tbsp lemon juice, freshly squeezed
- 2 tbsp cornstarch, for thickening the filling
- 1 large egg, beaten, for egg wash
- 1 tbsp turbinado sugar, for sprinkling on top, optional
Instruction
In a large bowl or food processor, combine the flour, 1 tablespoon sugar, and 1/2 teaspoon salt. Cut in the cold cubed butter until the mixture resembles coarse crumbs with pea-sized pieces of butter remaining.
Add ice water 1 tablespoon at a time, mixing just until the dough comes together. Divide in half, shape into two discs, wrap in plastic, and chill for at least 1 hour.
Preheat the oven to 400 degrees F (200 degrees C).
In a large bowl, toss the sliced Granny Smith apples with granulated sugar, brown sugar, cinnamon, nutmeg, remaining salt, lemon juice, and cornstarch until evenly coated.
Roll out one dough disc on a floured surface and fit it into a 9 inch pie dish, leaving a slight overhang.
Pour the apple filling into the crust, mounding it slightly in the center.
Roll out the second dough disc and place it over the filling, or cut into strips for a lattice top. Trim and crimp the edges to seal.
Brush the top crust with beaten egg and sprinkle with turbinado sugar if using. Cut a few small slits in the top to vent steam.
Bake for 20 minutes at 400 degrees F, then reduce the oven temperature to 350 degrees F (175 degrees C) and bake for another 30 to 35 minutes, until the crust is golden and the filling is bubbling.
Cool the pie on a wire rack for at least 2 hours before slicing to allow the filling to set.
Equipment
- 9 inch pie dish
- Food processor or pastry cutter
- Rolling pin
- Large mixing bowl
- Pastry brush
- Wire cooling rack
Notes
Serving, Storing, and Make-Ahead Tips
This pie truly shines when served slightly warm with a scoop of vanilla ice cream melting into the flaky crust, though it is equally wonderful at room temperature the next day. Letting the pie cool for a full two hours before slicing is essential. I know it is tempting to cut in right away, but this resting time allows the cornstarch to fully set the filling so your slices hold together instead of spilling out onto the plate.
For storage, keep leftovers loosely covered at room temperature for up to two days, or refrigerate for up to five days for longer freshness. A quick 10 minute reheat in a 300 degree F oven brings the crust back to life beautifully.
This Granny Smith apple pie freezes wonderfully too, whether baked or unbaked. If freezing unbaked, wrap the assembled pie tightly and freeze for up to three months, then bake straight from frozen, adding about 15 extra minutes to the bake time.
Whatever the occasion, this old fashioned apple pie recipe is the kind of dessert that turns any gathering into something a little more special.