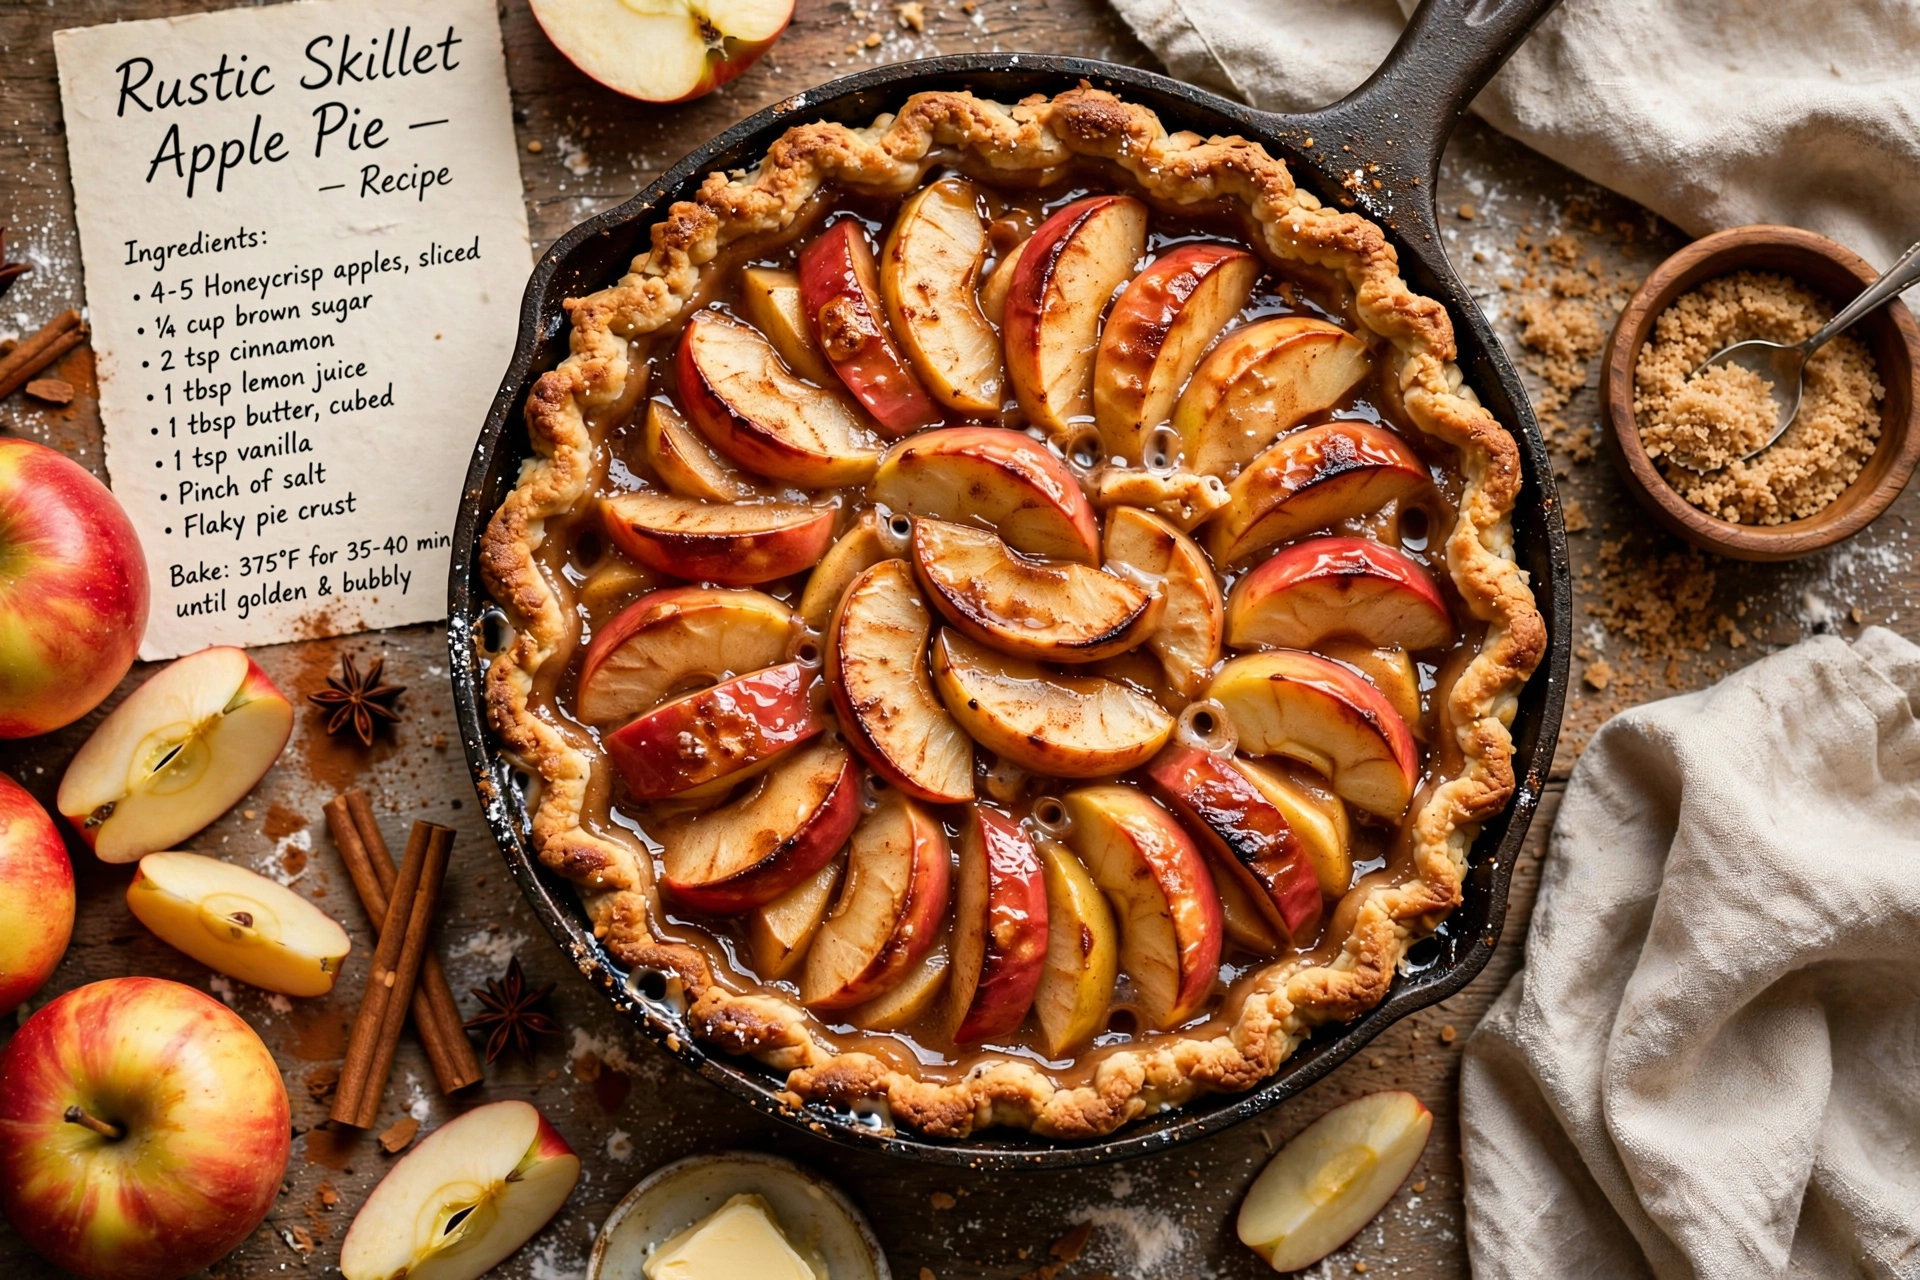
Rustic Skillet Apple Pie
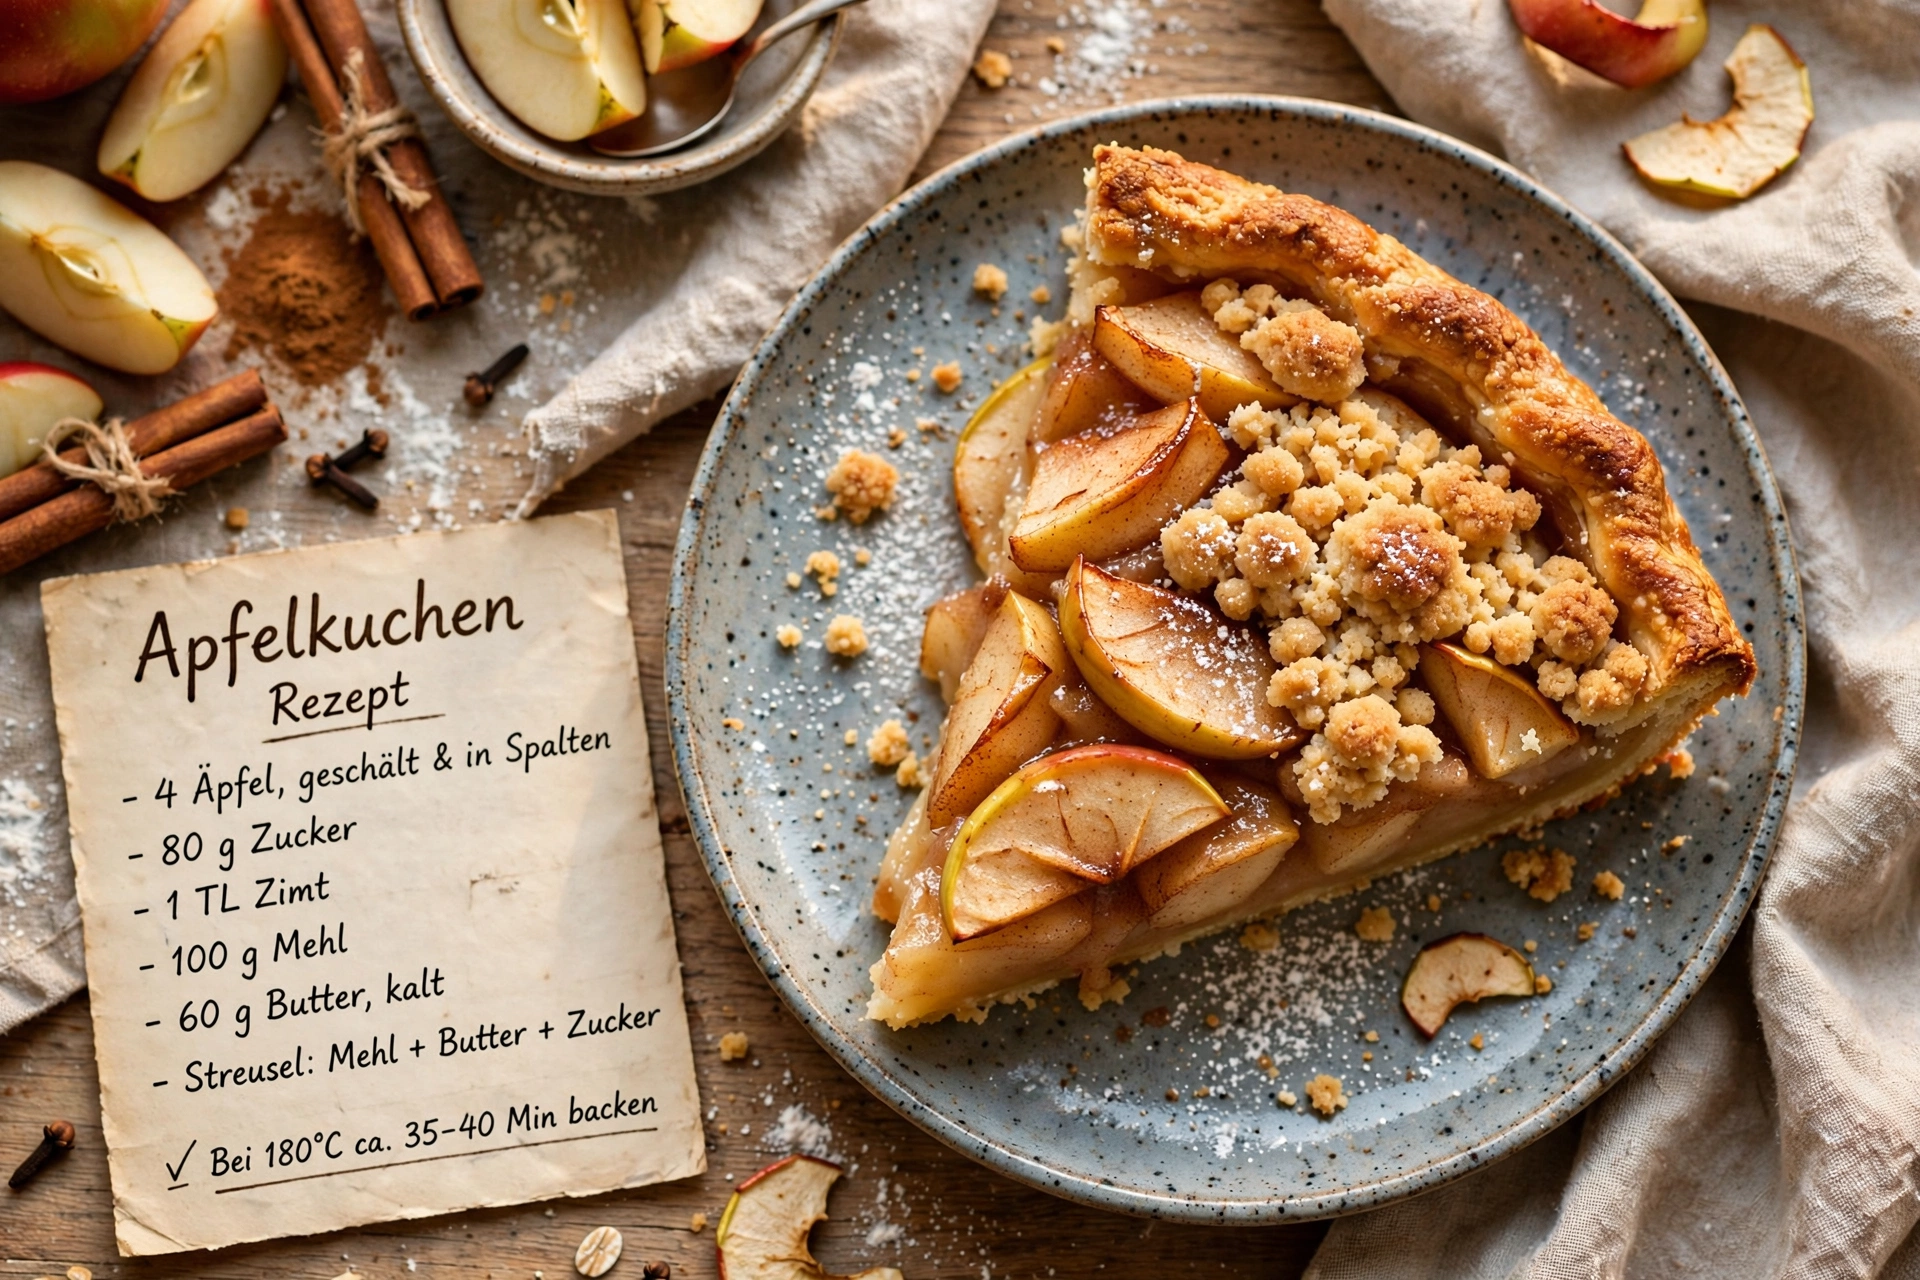
This rustic skillet apple pie bakes up bubbling and golden in a cast iron pan, with a flaky crust and warmly spiced apples in every bite.
Why This Rustic Skillet Apple Pie Belongs in Your Kitchen
There is something irresistible about a cast iron dessert that goes straight from the stovetop to the oven to the table. This rustic skillet apple pie takes everything you love about a classic apple pie recipe and gives it a cozier, more rugged twist. The edges char just slightly against the hot cast iron, the filling bubbles up thick and glossy, and the crust comes out shatteringly flaky. If you have ever searched for an apple pie recipe cast iron bakers swear by, this is the one to bookmark.
Think of it as a cross between a pioneer woman skillet apple pie and a old-fashioned stove top apple pie your grandmother might have made, minus the guesswork. It is simple, forgiving, and endlessly comforting.
Before we get cooking, the right tools and ingredients make a real difference here. A well-seasoned cast iron skillet is what gives this pie its signature deep golden crust and rustic charm, and a sturdy rolling pin and pastry cutter make the dough come together without stress. These are the products that genuinely help this recipe shine:
The Secret to a Flaky, Rustic Crust
The crust is where a lot of rustic pie recipes fall apart, literally. Keeping your butter cold and handling the dough as little as possible is the key to those beautiful, buttery layers. Cutting the butter into the flour so it stays in pea-sized pieces, rather than fully blending it in, is what creates steam pockets as the pie bakes, giving you that coveted flaky texture.
Chef's Tip: Chill your dough for a full hour, not just twenty minutes. Warm dough is sticky, hard to roll, and prone to shrinking in the oven.
Building the Perfect Apple Filling
A great apple pie skillet recipe comes down to balance. Too much liquid and you end up with a soggy bottom crust. Too little sugar and the tartness overwhelms. Mixing a firm, tart apple like Granny Smith with a naturally sweet variety like Honeycrisp gives you the best of both worlds, structure that holds up during baking and a filling that tastes complex rather than one-note.
The cornstarch is doing quiet but important work here too. It thickens the juices released by the apples as they cook, so when you slice into the pie, the filling holds its shape instead of running all over the plate. If you love experimenting with recipes with apple pie spice, feel free to add a touch more to boost the warmth, or stir in a pinch of ground cloves for extra depth.
Ready to make it? Here is the full step-by-step recipe:
Rustic Skillet Apple Pie
This rustic skillet apple pie bakes up bubbling and golden in a cast iron pan, with a flaky crust and warmly spiced apples in every bite.
Ingredients
- 2 1/2 cups all-purpose flour, plus extra for rolling
- 1 tbsp granulated sugar, for the crust
- 1 tsp salt, divided
- 1 cup unsalted butter, cold, cubed, divided between crust and filling
- 1/2 cup ice water, plus more as needed
- 8 apples, peeled, cored, and sliced; a mix of Granny Smith and Honeycrisp works best
- 1/2 cup brown sugar, packed
- 1/4 cup granulated sugar, for the filling
- 2 tsp apple pie spice, or a mix of cinnamon, nutmeg, and allspice
- 1 tbsp lemon juice, freshly squeezed
- 2 tbsp cornstarch, to thicken the filling
- 1 egg, beaten, for egg wash
- 1 tbsp coarse sugar, for sprinkling on top, optional
Instruction
In a large bowl, whisk together the flour, 1 tablespoon granulated sugar, and 3/4 teaspoon salt. Cut in three-quarters of the cold butter until the mixture resembles coarse crumbs.
Add ice water a tablespoon at a time, mixing just until the dough comes together. Divide in half, flatten into discs, wrap, and chill for at least 1 hour.
Preheat the oven to 400 degrees F (200 degrees C).
In a large bowl, toss the sliced apples with brown sugar, granulated sugar, apple pie spice, lemon juice, cornstarch, and remaining salt until evenly coated.
Melt the remaining butter in a 10 to 12 inch cast iron skillet over medium heat.
Roll out one dough disc and press it into the bottom and up the sides of the buttered skillet.
Pour the apple filling into the crust, mounding it slightly in the center.
Roll out the second dough disc and lay it over the filling, or cut into strips for a lattice top. Trim and crimp the edges.
Brush the top crust with beaten egg and sprinkle with coarse sugar. Cut a few slits for steam to escape.
Place the skillet on a baking sheet to catch any drips, then bake for 45 to 50 minutes until the crust is deep golden brown and the filling bubbles.
Let the pie cool in the skillet for at least 30 minutes before slicing, so the filling can set.
Equipment
- 10 to 12 inch cast iron skillet
- Large mixing bowls
- Rolling pin
- Pastry cutter or fork
- Baking sheet
Notes
Why the Skillet Makes All the Difference
Baking this pie in cast iron rather than a traditional pie dish does more than just look charming for photos. Cast iron retains and distributes heat incredibly evenly, which means the bottom crust actually cooks through instead of staying pale and underdone, one of the most common complaints with regular pie pans. It is one of the reasons this particular apple pie skillet method has become so popular among home bakers looking to upgrade their dessert game.
The skillet also lets you serve the pie straight from the oven to the table, no transferring required. Just set it on a trivet, let it rest, and dig in family-style.
Serving, Storing, and Make-Ahead Tips
This pie is fantastic warm with a scoop of vanilla ice cream melting into the crevices, or at room temperature with a drizzle of caramel sauce. If you are serving a crowd, it slices beautifully straight from the skillet.
For storage, leave leftovers loosely covered at room temperature for up to two days, or refrigerate for up to five. A quick reheat in a low oven brings the crust back to life far better than a microwave ever could.
This rustic skillet apple pie is proof that dessert does not need to be fussy to be unforgettable. One skillet, one oven, and a whole lot of cozy flavor.