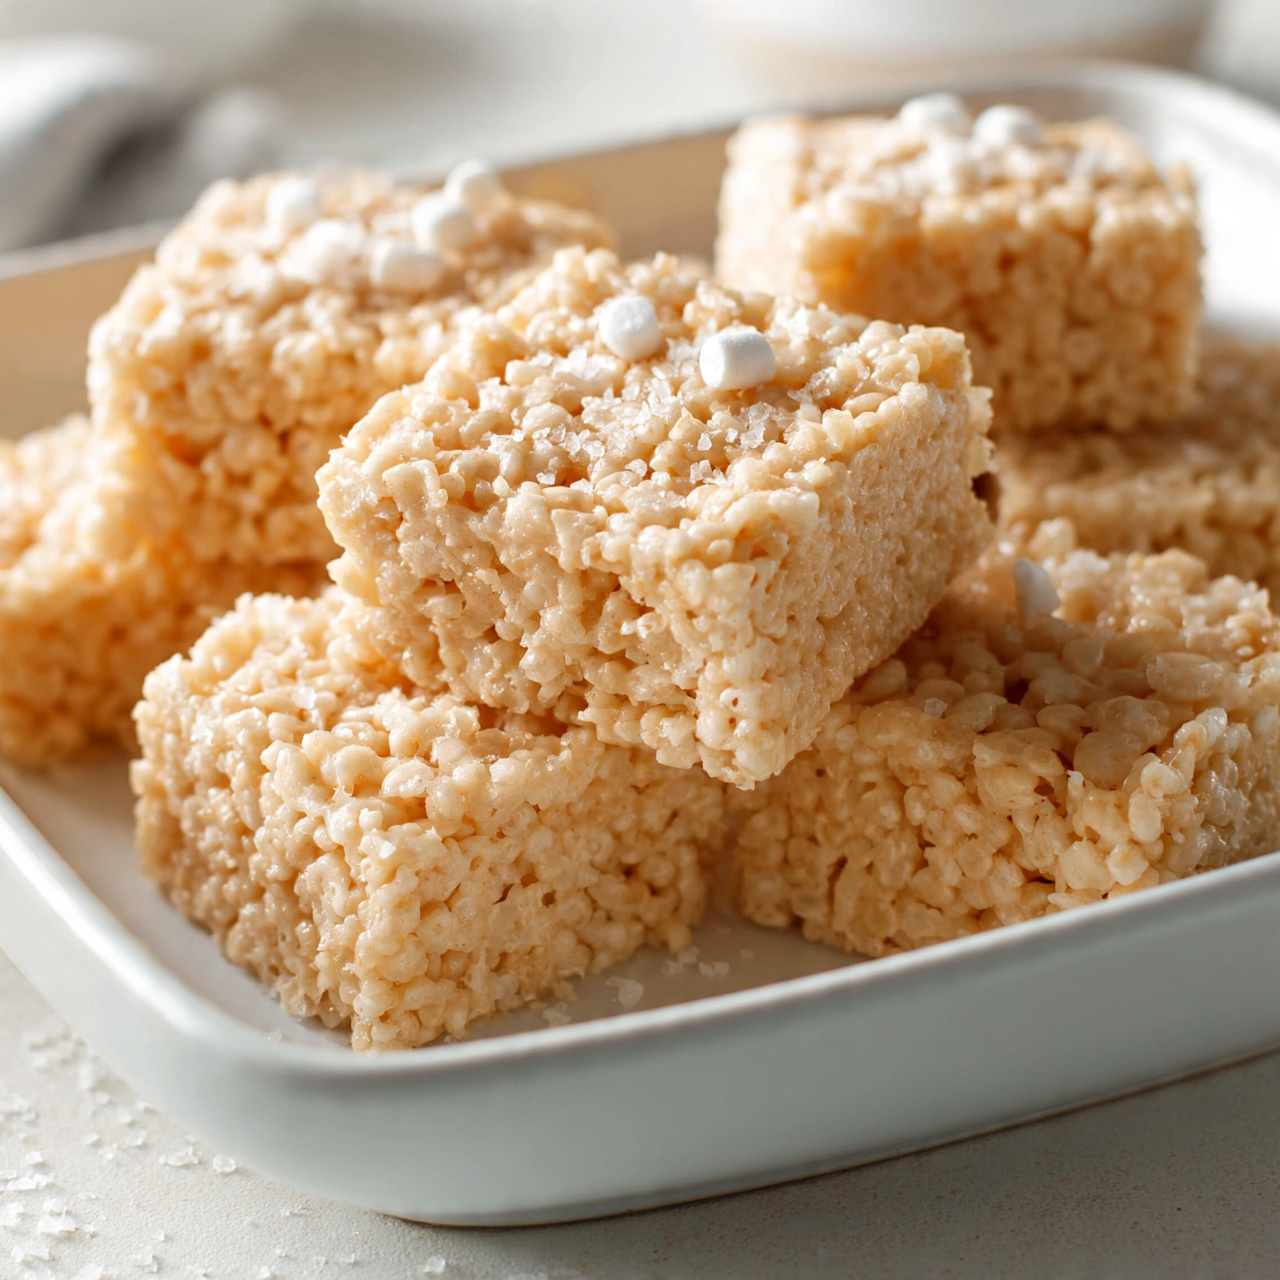
The Best Homemade Rice Krispie Treats (Soft, Gooey, and Irresistible)
These homemade Rice Krispie Treats are impossibly gooey, perfectly buttery, and ready in under 20 minutes. The ultimate nostalgic dessert that never goes out of style.

The Only Rice Krispie Treat Recipe You Will Ever Need
Some recipes are timeless for a reason. Homemade Rice Krispie Treats have been bringing people together since the 1930s, and honestly, a good marshmallow krispie treat still stops a room. Whether you are making a batch for a school bake sale, a weekend snack, or just because the craving hit, this is the rice krispy recipe that delivers every single time: soft, stretchy, gloriously buttery, and packed with that nostalgic flavor you remember from childhood.
The secret? Brown butter. It takes about three extra minutes and transforms these from good rice krispie treats into the best rice krispie treats you have ever tasted.
Why Homemade Beats the Box Every Single Time
Store-bought Rice Krispie Treats are fine in a pinch, but once you try a truly homemade version, there is no going back. Here is what makes the difference:
- The butter-to-marshmallow ratio is fully in your control. More butter means more richness and that glossy, golden coating on every cereal piece.
- You choose the freshness. Fresh marshmallows melt into silky, cloud-like ribbons. Stale ones can seize up and turn grainy.
- Brown butter adds depth. That nutty, almost caramel-like flavor is something no boxed treat can replicate.
Think of this as your rice crispy treats homemade foundation. Once you nail the base, the variations are endless.
The right tools and a quality bag of marshmallows genuinely change the outcome here. A heavy-bottomed pot helps the butter brown evenly without scorching, and a good flexible spatula makes folding the cereal in a breeze.
The Brown Butter Trick That Changes Everything
If you have never browned butter before, do not be intimidated. You are simply cooking the butter a little longer than usual until the milk solids toast and turn golden. The result smells like butterscotch and toasted nuts, and it adds a warmth and complexity to these marshmallow krispie treats that is genuinely hard to explain until you taste it.
Chef's Tip: Watch the butter closely once it starts foaming. It goes from golden to burnt quickly. The moment you smell that nutty aroma and see golden specks at the bottom of the pot, pull it off the heat and add your marshmallows immediately.
Once the marshmallows are melted, you have a short window to fold in your cereal. Move with intention, not speed. Gentle folding keeps the treats light and airy rather than dense and brick-like.
Tips for Soft, Gooey Rice Krispie Treats
A few simple rules will make every batch come out perfectly:
- Use fresh marshmallows. Squeeze the bag before you buy it. If it feels firm or hard, grab another bag.
- Measure your cereal loosely. Scooping it directly from the box and lightly filling the cup keeps things airy.
- Butter your hands before pressing. This prevents sticking and reminds you not to press too hard.
- Do not refrigerate. Cold air is the enemy of soft, edible rice krispie treats. Room temperature storage in an airtight container is the way to go.
Fun Variations Worth Trying
Once you have the base down, these rice krispys are a blank canvas:
- Cream cheese Rice Krispie Treats: Fold in 2 oz of softened cream cheese with the marshmallows for a tangy, richer flavor.
- Brown butter chocolate chip: Stir in 0.5 cup of mini chocolate chips right before pressing.
- Funfetti style: Add rainbow sprinkles for birthday parties and celebrations.
Ready to make the best batch of your life? Here is the full step-by-step recipe:
The Best Homemade Rice Krispie Treats (Soft, Gooey, and Irresistible)
These homemade Rice Krispie Treats are impossibly gooey, perfectly buttery, and ready in under 20 minutes. The ultimate nostalgic dessert that never goes out of style.
Ingredients
- 4 tbsp unsalted butter, plus extra for greasing the pan
- 10 cups mini marshmallows, one standard 10 oz bag
- 6 cups Rice Krispies cereal, measured loosely, not packed
- 1 tsp vanilla extract, pure, not imitation
- 1/4 tsp kosher salt, balances the sweetness
Instruction
Butter a 9x13 inch baking pan generously and set it aside.
In a large pot or Dutch oven, melt the butter over medium-low heat, stirring occasionally until it just begins to turn golden and smell nutty, about 3 to 4 minutes. This is your brown butter base and it makes all the difference.
Add the mini marshmallows to the pot and stir constantly until they are completely melted and smooth, about 2 to 3 minutes. Remove from heat immediately.
Stir in the vanilla extract and kosher salt.
Working quickly, fold in the Rice Krispies cereal with a buttered spatula until every piece is coated. Do not overmix or press too hard.
Transfer the mixture into the prepared pan. Using buttered fingertips or a buttered piece of parchment, gently press the mixture into an even layer. Press lightly, not firmly, to keep the treats airy and soft.
Allow to cool at room temperature for at least 30 minutes before cutting into squares and serving.
Equipment
- 9x13 inch baking pan
- Large pot or Dutch oven
- Rubber spatula
- Parchment paper
Notes
Serving, Storing, and Making Ahead
These treats are best enjoyed the same day, but they hold up beautifully for up to three days in an airtight container at room temperature. For gifting or bake sales, wrap individual squares in plastic wrap to keep them soft and easy to grab.
If you are making a big batch ahead of time, press the mixture into the pan, cover tightly with plastic wrap, and cut the next day. They slice even cleaner once they have had time to fully set.
However you serve them, warm or room temperature, plain or loaded with mix-ins, these homemade rice crispy treats are guaranteed to disappear fast. Make a double batch. You will thank yourself later.