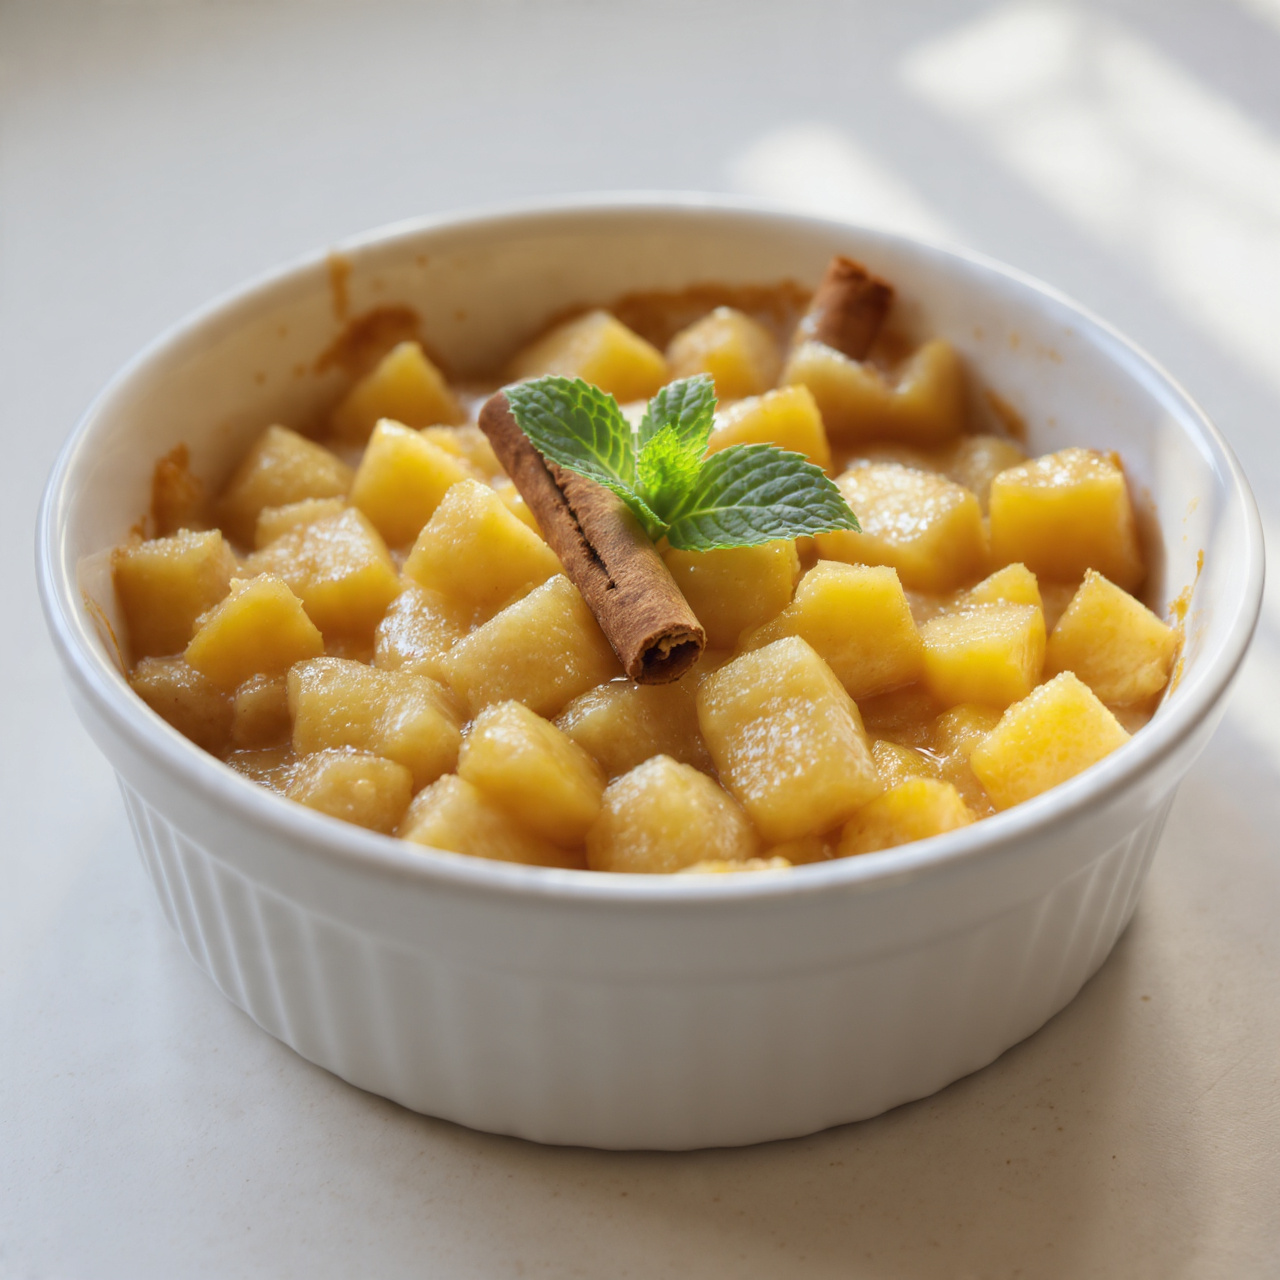
Homemade Apple Pie Filling
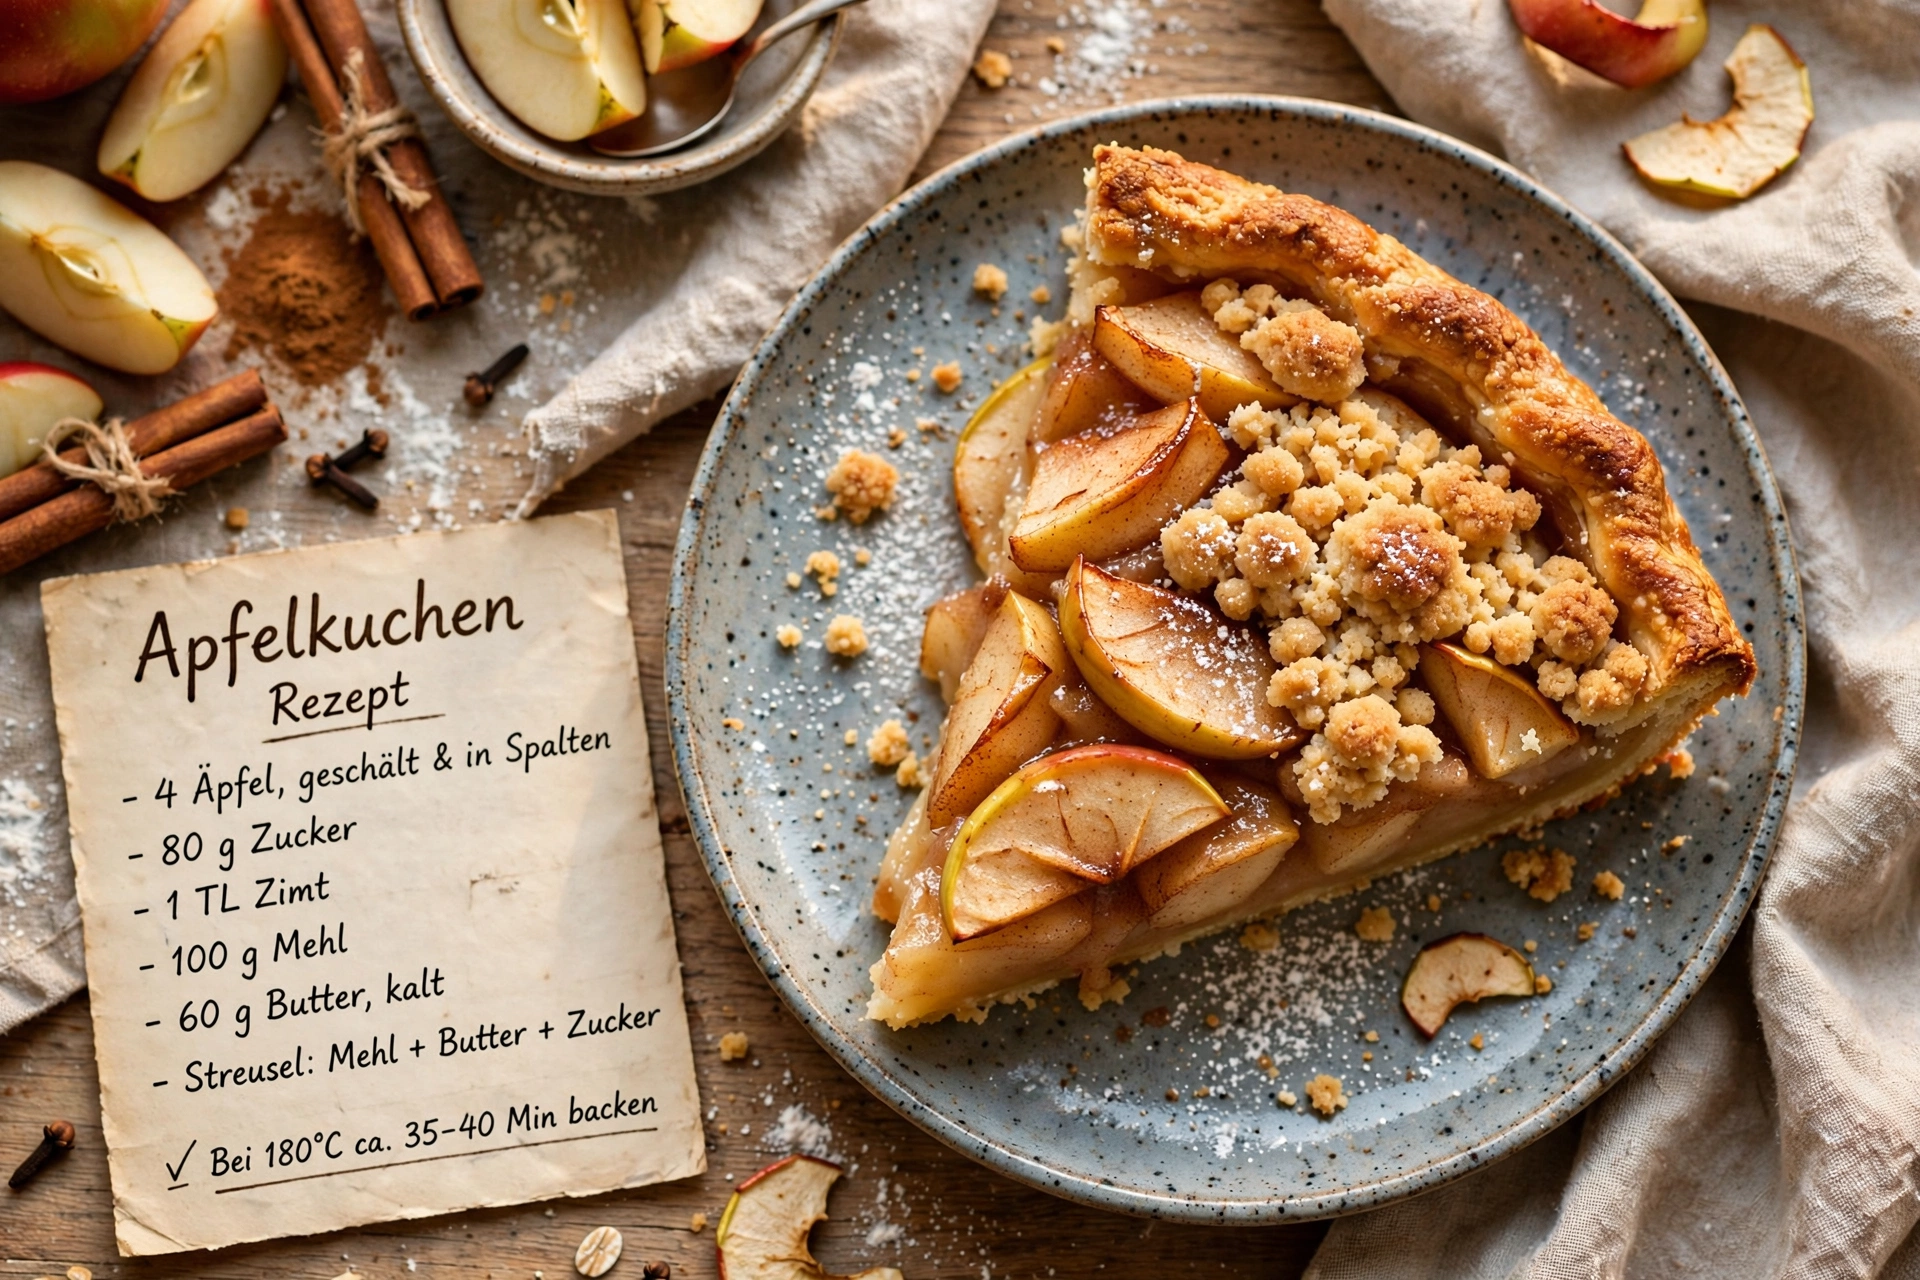
This homemade apple pie filling is thick, glossy, and packed with warm cinnamon spice, made easy with fresh apples for the best pie you'll ever bake.

Why You'll Love This Homemade Apple Pie Filling
There is something magical about a spoonful of warm, cinnamon spiced apples simmering on the stove. This homemade apple pie filling recipe turns fresh apples into a thick, glossy filling that tastes like the coziest days of fall, no canned filling required. Once you learn how to make apple pie filling from fresh apples, you'll never go back to the store bought stuff again.
This is genuinely one of the easiest apple filling recipes you can make, and it is endlessly useful. Spoon it into a pie crust, layer it into a galette, swirl it into oatmeal, or serve it warm over vanilla ice cream. Once you have a batch of this cooked apple pie filling in your fridge, you'll find reasons to use it all week long.
Before we get cooking, the right tools and ingredients make a real difference here. A sturdy peeler saves your hands a lot of work, a reliable Dutch oven distributes heat evenly so your filling doesn't scorch, and good quality cinnamon makes the whole kitchen smell incredible. These are the products that genuinely help this recipe shine:
Choosing the Best Apples for Pie Filling
Not all apples behave the same way once they hit a hot pan. For the best texture in your fresh apple pie filling recipes, you want a variety that holds its shape rather than turning to mush.
Great options include:
- Granny Smith, tart and firm, the classic pie apple
- Honeycrisp, sweet with a satisfying crunch that mellows nicely
- Braeburn or Jonagold, both bring a lovely balance of sweet and tart
A mix of two varieties, like Granny Smith and Honeycrisp, gives you the best of both worlds: bright acidity and natural sweetness in every bite.
Chef's Tip: Slice your apples evenly, about a quarter inch thick. Uneven pieces mean some apples turn mushy while others stay hard, and nobody wants that in their pie.
The Secret to Thick Apple Pie Filling
If you've ever cut into a pie only to watch a soupy puddle spill out, you know the frustration of a filling gone wrong. The trick to a properly thick apple pie filling is cooking the cornstarch mixture before adding the apples, not after.
By whisking the cornstarch, sugars, and spices into water and lemon juice first, then simmering until glossy, you create a thickened base that coats every apple slice as it cooks. This method also means your filling is already fully cooked and ready to eat straight from the pan, which is perfect if you just want easy apple filling for topping pancakes or yogurt.
The lemon juice does double duty here too. It brightens the flavor and helps keep the apples from browning before you're ready to use them.
How to Make Apple Pie Filling From Fresh Apples
This process comes together in under 30 minutes from start to finish, and most of that time is simply peeling and slicing. Once your apples are prepped, the actual cooking is quick and mostly hands off.
Ready to make it? Here is the full step-by-step recipe:
Homemade Apple Pie Filling
This homemade apple pie filling is thick, glossy, and packed with warm cinnamon spice, made easy with fresh apples for the best pie you'll ever bake.
Ingredients
- 8 apples, peeled, cored, and sliced 1/4 inch thick, Granny Smith or Honeycrisp recommended
- 3/4 cup granulated sugar
- 1/4 cup light brown sugar, packed
- 3 tbsp cornstarch
- 1 tsp ground cinnamon
- 1/4 tsp ground nutmeg
- 1/4 tsp salt, fine sea salt
- 3/4 cup water
- 1 tbsp lemon juice, freshly squeezed
- 1 tbsp unsalted butter, cut into small pieces
Instruction
Peel, core, and slice the apples into even 1/4 inch pieces so they cook at the same rate.
In a small bowl, whisk together the granulated sugar, brown sugar, cornstarch, cinnamon, nutmeg, and salt.
In a large saucepan or Dutch oven, combine the water and lemon juice, then whisk in the sugar and cornstarch mixture until smooth.
Place the pan over medium heat and cook, stirring constantly, until the mixture starts to thicken and turns glossy, about 3 to 4 minutes.
Add the sliced apples to the pan and stir to coat them evenly in the thickened liquid.
Reduce the heat to medium low and simmer, stirring occasionally, for 8 to 10 minutes, until the apples are just tender but still hold their shape.
Remove the pan from the heat and stir in the butter until melted and glossy.
Let the filling cool to room temperature before using it in a pie, or transfer it to jars for storing.
Equipment
- Large saucepan or Dutch oven
- Whisk
- Sharp paring knife or apple peeler
- Cutting board
- Wooden spoon
Notes
Ways to Use Your Amazing Homemade Apple Pie Filling
While this recipe is built for pie, don't feel limited to just one use. This versatile filling shines in plenty of other desserts and breakfasts.
- Fill a classic double crust pie for the ultimate homemade apple pie
- Spoon over pancakes, waffles, or French toast
- Layer between graham crackers for a quick apple crumble parfait
- Fold into a simple galette for a rustic, low effort dessert
- Swirl into oatmeal or yogurt for a cozy breakfast upgrade
Storing and Freezing Tips
Once cooled, this filling keeps beautifully. Store it in an airtight container in the fridge for up to 5 days, which makes it a fantastic make ahead option for holiday baking. It also freezes well for up to 3 months, so you can prep a big batch in the fall and have homemade apple pie filling ready to go whenever a craving hits.
Chef's Tip: If your filling seems a bit thin after cooling, don't worry. It will continue to thicken slightly in the fridge as the cornstarch fully sets.
However you decide to use it, this filling delivers that perfect balance of tender apples, warm spice, and just the right amount of sweetness every single time.