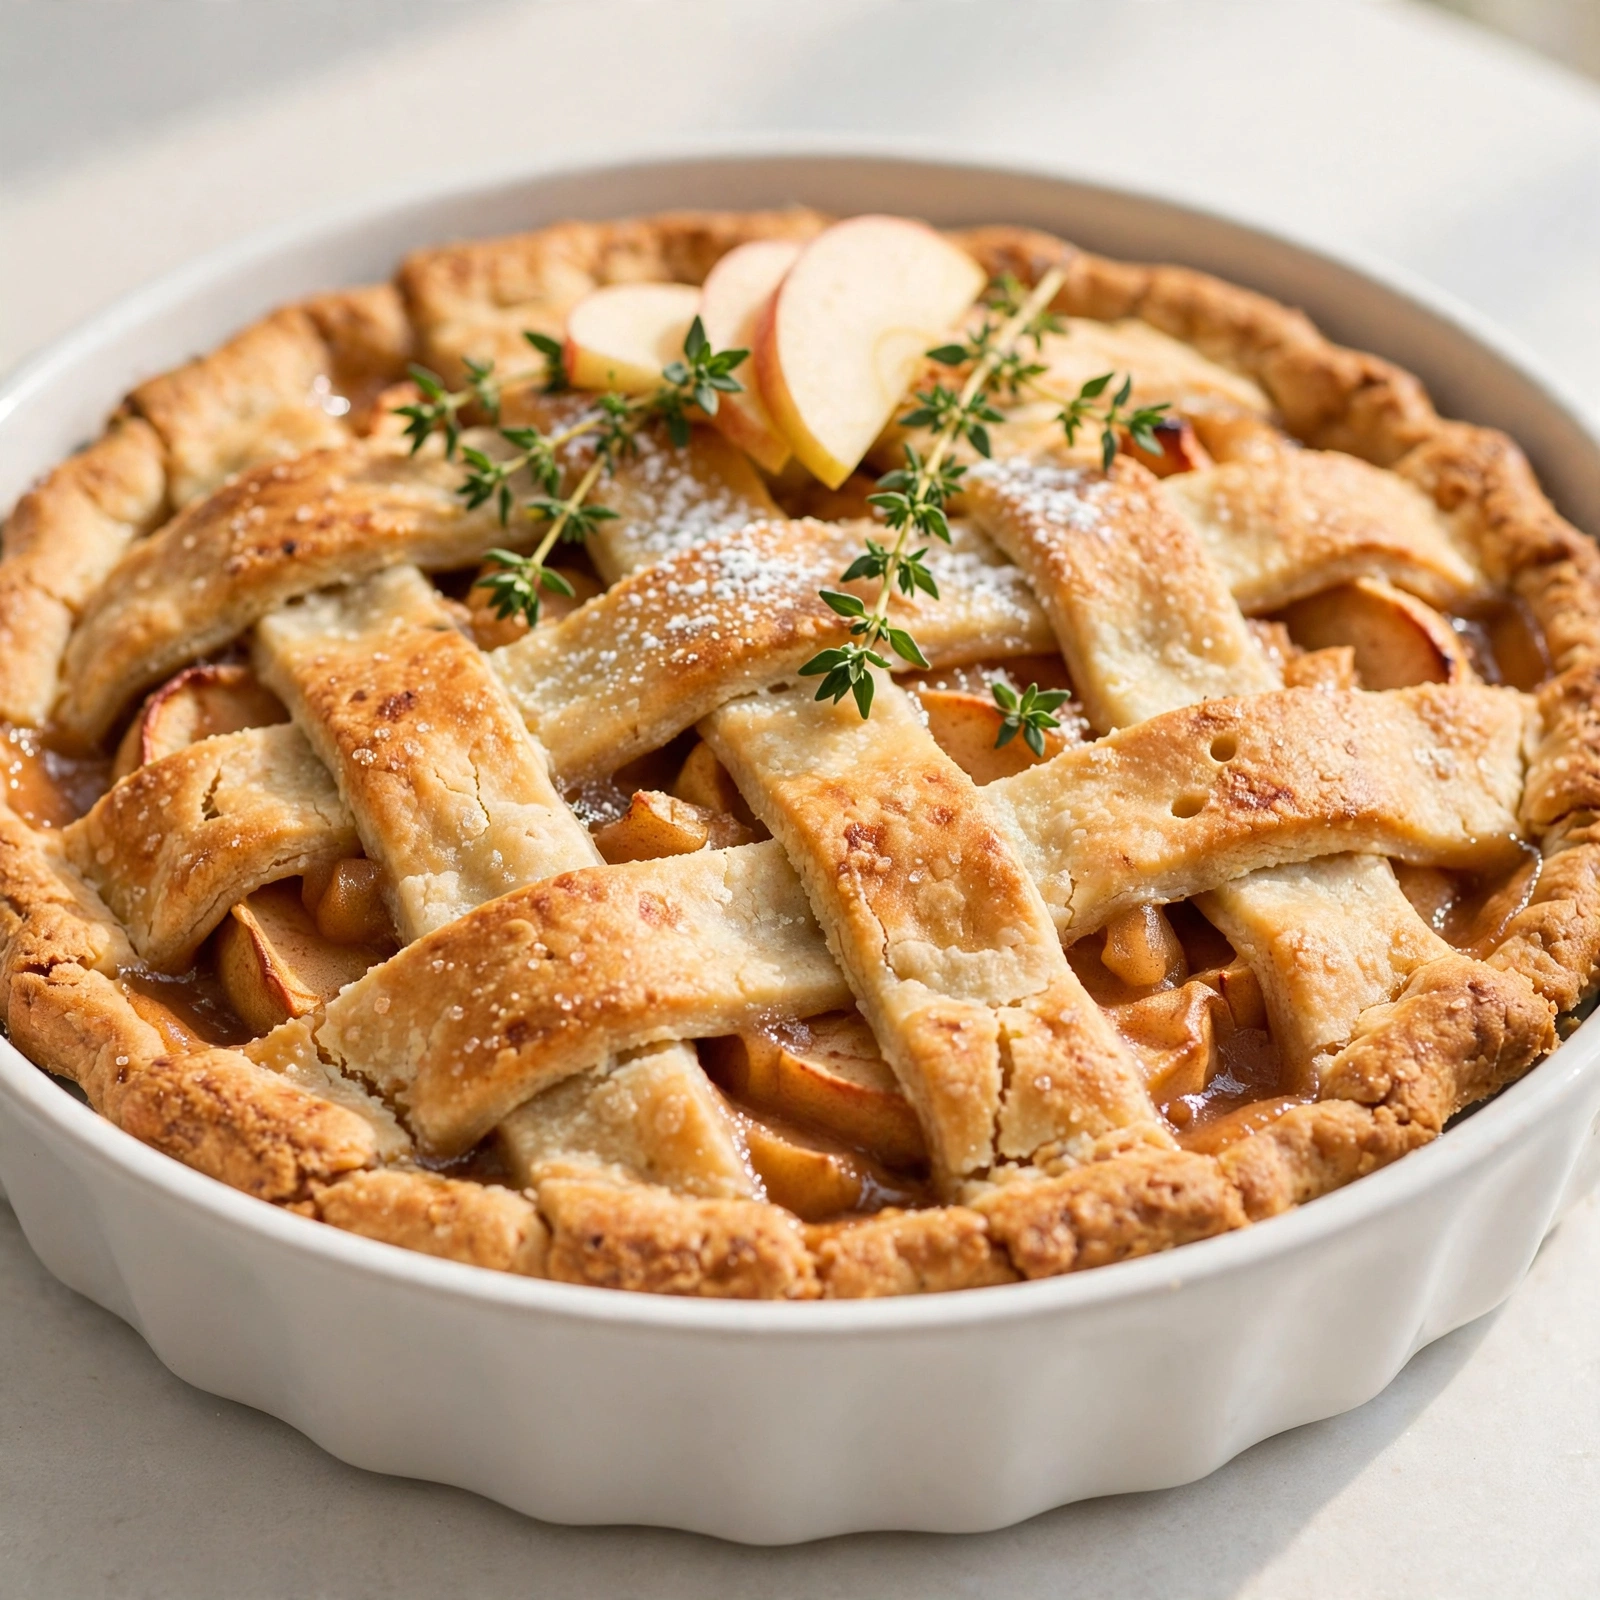
Classic Homemade Apple Pie
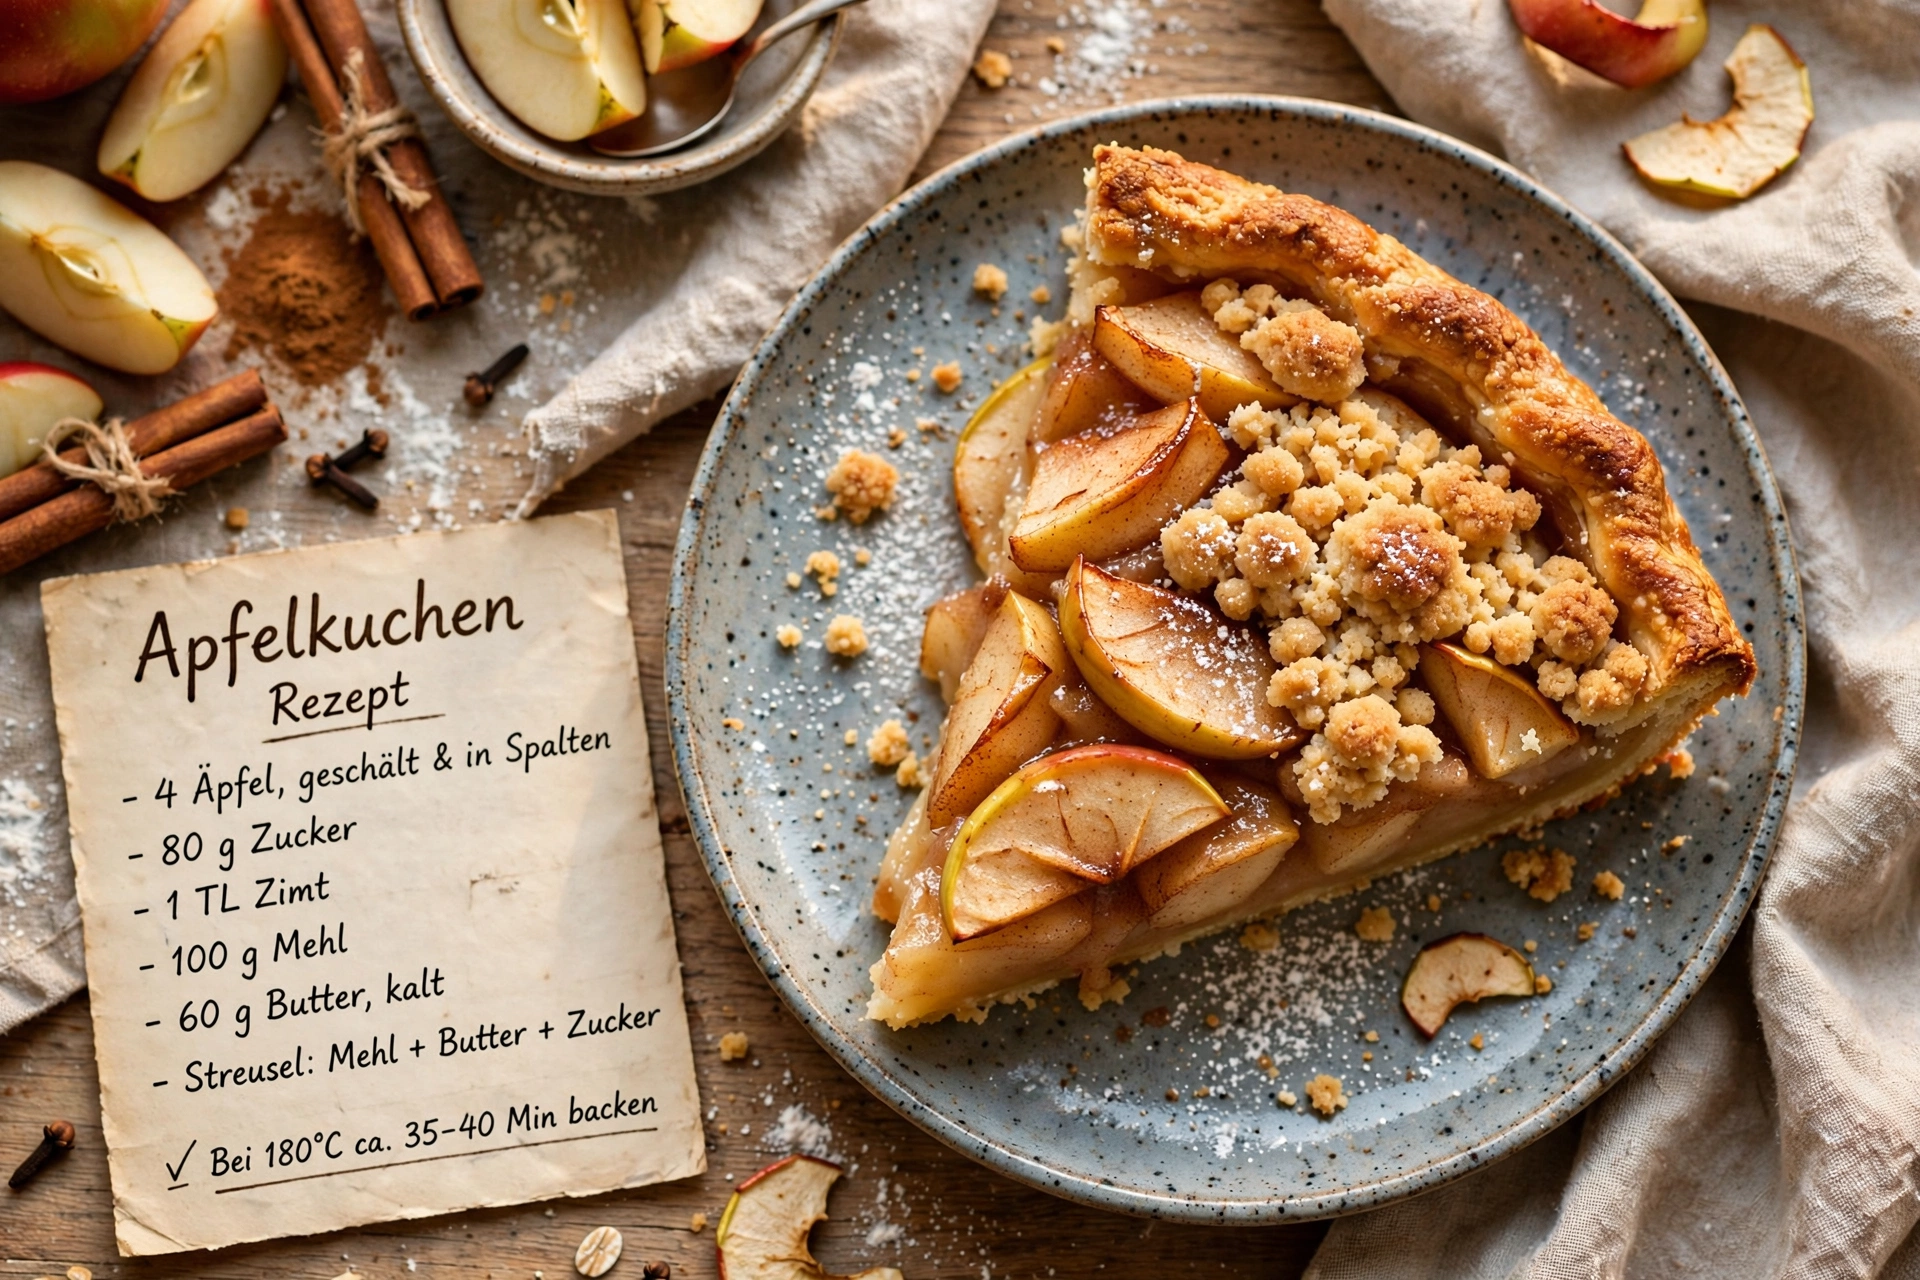
This easy apple pie recipe features a flaky, buttery crust and a warmly spiced homemade apple pie filling made from fresh apples, no canned filling needed.
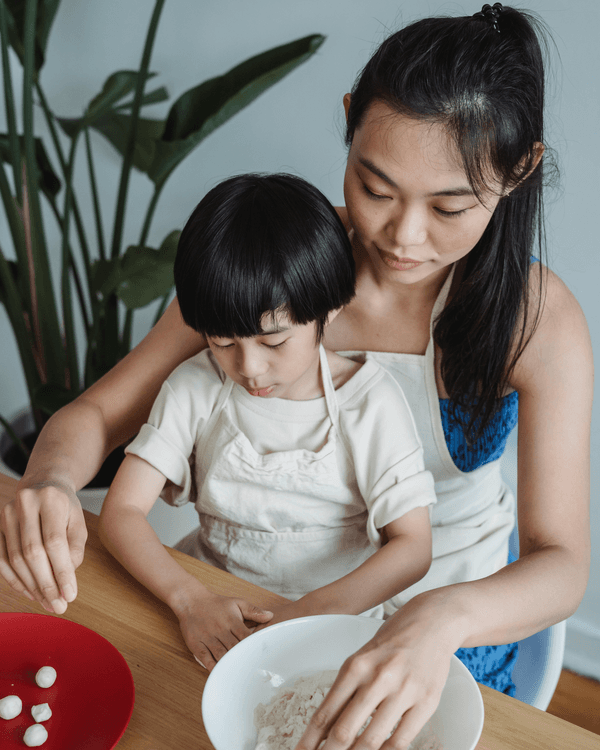
The Apple Pie Recipe Everyone Asks For
There's a reason apple pie has stuck around as the quintessential American dessert. When it's made right, with a flaky, buttery crust and a warmly spiced, juicy filling, it's genuinely hard to beat. This is my go to simple apple pie recipe, the one I make for every holiday, potluck, and random Tuesday craving. It leans on homemade apple pie filling rather than anything from a can, and once you taste the difference, you probably won't go back.
If you've been searching for a fresh apple pie recipe easy enough for a weeknight but impressive enough for Thanksgiving, this is it. No fancy equipment, no pastry degree required, just a few smart techniques that make all the difference.
Before we get cooking, the right tools and ingredients make a real difference here. A sturdy pastry cutter, a reliable pie dish, and good quality butter all shape how flaky your crust turns out, and a sharp paring knife makes prepping eight apples much less of a chore. These are the products that genuinely help this recipe shine:
Why This Apple Pie Recipe Filling Works
The secret to a great apple pie recipe filling isn't complicated. It comes down to three things: the right apples, the right thickener, and giving the filling time to macerate before it goes into the crust.
- Use a mix of apples. Granny Smith brings tartness and holds its shape, while Honeycrisp adds natural sweetness and juiciness. Together they create layers of flavor you just don't get from a single variety.
- Cornstarch over flour. It thickens the juices into a glossy, sliceable filling instead of a flour-thickened, pasty one.
- Let it rest. Tossing the apples with sugar and letting them sit for 15 minutes draws out excess liquid, which keeps your bottom crust from turning soggy.
Chef's Tip: Resist the urge to skip the resting step. Those extra 15 minutes are what separate a watery pie from one with a beautifully set, jammy filling.
How To Make A Apple Pie With a Truly Flaky Crust
A good crust is really about temperature control. Cold butter, cold water, and a chilled dough before rolling are non negotiable if you want those signature flaky layers.
Work the butter into the flour just until you see pea sized pieces, not a uniform sandy texture. Those little pockets of butter are what puff up into flakes in the oven. When you add the ice water, go slowly. Every kitchen's humidity is different, so you may need a touch more or less than the recipe calls for.
Chef's Tip: If your dough starts to feel warm or sticky while rolling, pop it back in the fridge for 10 minutes. Cold dough is easier to work with and bakes up far flakier.
Assembling Your Perfectly Simple Apple Pie
Once your crust is chilled and your filling has rested, assembly comes together quickly. Mound the apples generously in the center of the bottom crust; they'll shrink as they bake, so don't be shy. Whether you go with a full top crust, a lattice, or a rustic crumb topping, the technique below works for all of them.
Ready to make it? Here is the full step-by-step recipe:
Classic Homemade Apple Pie
This easy apple pie recipe features a flaky, buttery crust and a warmly spiced homemade apple pie filling made from fresh apples, no canned filling needed.
Ingredients
- 2 1/2 cups all-purpose flour, plus extra for rolling
- 1 tbsp granulated sugar, for the crust
- 1 tsp salt, divided between crust and filling
- 1 cup unsalted butter, cold, cubed
- 1/2 cup ice water, plus more as needed
- 8 apples, peeled, cored, and thinly sliced, a mix of Granny Smith and Honeycrisp
- 3/4 cup granulated sugar, for the filling
- 1/4 cup light brown sugar, packed
- 1 1/2 tsp ground cinnamon
- 1/4 tsp ground nutmeg, freshly grated if possible
- 1 tbsp lemon juice, freshly squeezed
- 3 tbsp cornstarch, to thicken the filling
- 1 large egg, beaten, for egg wash
- 1 tbsp coarse sugar, optional, for sprinkling on top
Instruction
In a large bowl, whisk together the flour, sugar, and salt for the crust. Cut in the cold cubed butter using a pastry cutter or your fingers until the mixture resembles coarse crumbs with some pea-sized pieces remaining.
Drizzle in the ice water, one tablespoon at a time, mixing gently until the dough just comes together. Divide the dough in half, shape into two discs, wrap in plastic, and refrigerate for at least 1 hour.
While the dough chills, make the filling. In a large bowl, toss the sliced apples with lemon juice, granulated sugar, brown sugar, cinnamon, nutmeg, and cornstarch until evenly coated. Let sit for 15 minutes.
Preheat the oven to 400 degrees F (200 degrees C). On a lightly floured surface, roll out one dough disc into a 12 inch circle and fit it into a 9 inch pie dish, letting the excess hang over the edge.
Pour the apple filling into the crust, mounding it slightly in the center, and dot with a little extra butter if desired.
Roll out the second dough disc and place it over the filling, or cut into strips for a lattice top. Trim and crimp the edges to seal.
Brush the top crust with beaten egg and sprinkle with coarse sugar. Cut a few small slits in the top to allow steam to escape.
Place the pie on a baking sheet to catch any drips and bake for 20 minutes at 400 degrees F, then reduce the oven temperature to 350 degrees F (175 degrees C) and bake for another 30 to 35 minutes, until the crust is golden and the filling is bubbling.
Let the pie cool on a wire rack for at least 2 to 3 hours before slicing, so the filling has time to set.
Equipment
- 9 inch pie dish
- Pastry cutter or fork
- Rolling pin
- Large mixing bowls
- Baking sheet
- Wire cooling rack
Notes
Serving, Storing, and Make-Ahead Tips
This pie is best served slightly warm or at room temperature, which gives the filling time to fully set so your slices hold together. A scoop of vanilla ice cream or a dollop of lightly sweetened whipped cream never hurts either.
For homemade apple pie filling leftovers on their own, they'll keep in an airtight container in the fridge for about a week and can be used in oatmeal, pancakes, or a quick crumble. The baked pie itself keeps beautifully covered at room temperature for a couple of days, or in the fridge if you want it to last a bit longer.
If you're planning ahead, the unbaked, assembled pie can be frozen for up to 3 months. Just bake it straight from frozen, adding an extra 15 to 20 minutes to the covered baking time.
However you slice it, this is the kind of apple pie recipe easy canned filling shortcuts simply can't compete with. Once you taste a slice made from scratch, warm, fragrant, and just the right amount of sweet, it's easy to see why this one stays in the regular rotation.